I didn’t mention it in my previous post, but I also got a comgrow enclosure for the printer. It has stablized the prints somewhat since the temperature in the enclosure remains somewhat constant, and the printer doesn’t have to fight with the office aircon. I had to set the bed temperature back to 60C from the 70C I was running it at due to the magentic bed - I was seeing elephant’s foot happening just after putting the printer inside the enclosure, but that seems to be resolved now with the reduced bed temperature and also that the environmental temperature is more constant.
Since the enclosure is a bit narrow, I went back to using the top mount for the filament spool (It was one of the first things I printed when I got the printer, but I had issues using it). I also had to change the filament sensor mount from the LGX Arrow recommended location, back to the plate where it was originally mounted, however on a different mount.
LGX Lite Arrow recommended location:
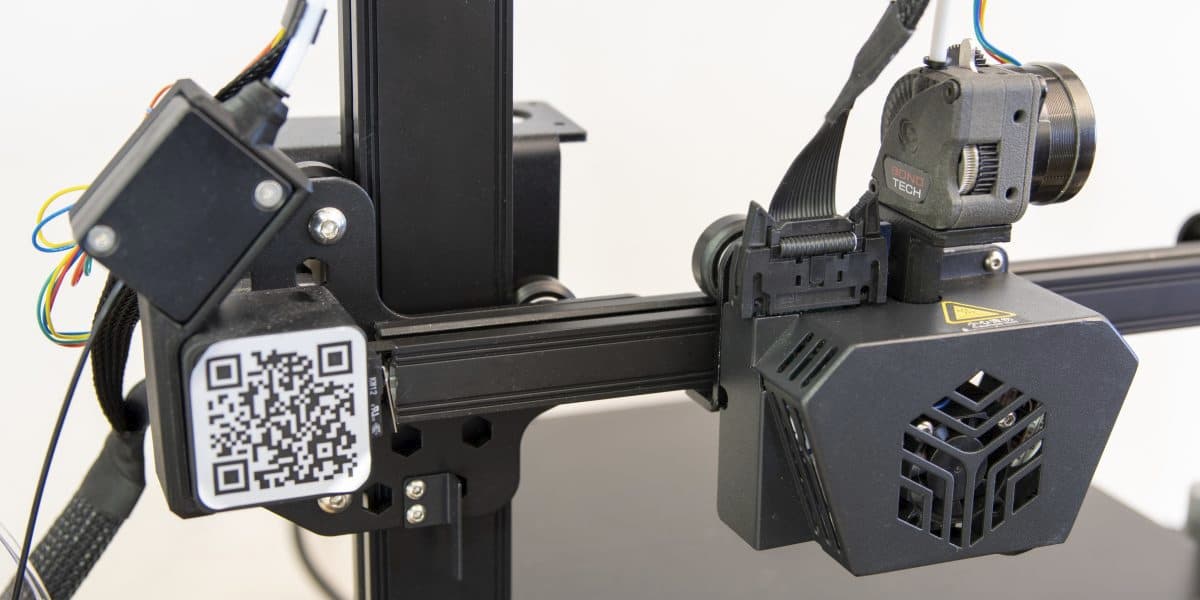
“New” location:

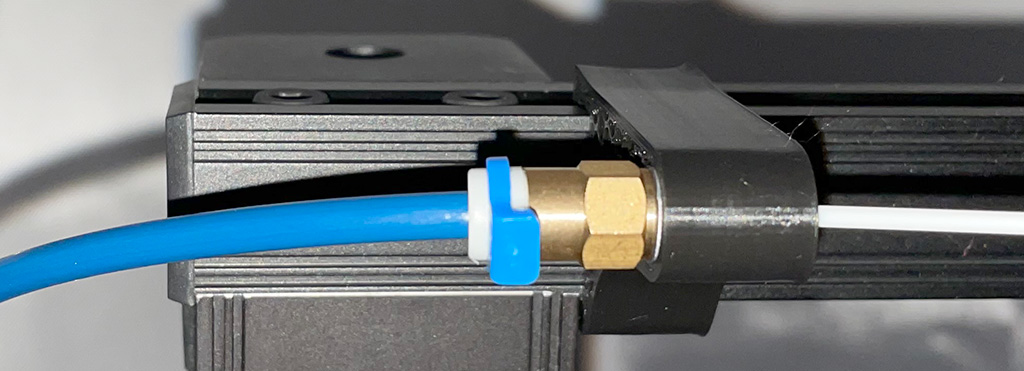
I printed the bracket as-is. I had 2x PC4-M6 ptfe pneumatic sockets which fit nicely in to the printed sockets.
I also ended up using another model I found for the top mount socket, but I had to modify it to add an M6 thread. I was unable to successfuly screw in a PC4-M6 ptfe socket in the original model, so it was a bit of a learning experience on how to remix the original STL to add the thread - while it took me about a day to figure out how to import the model and convert it back to a solid object in Fusion 360, I was ultimately successful. I published the print here: Printables - I also included my modified Fusion 360 file because why make it more difficult?
]
You will probably note a bit of elephant’s foot in that print - I solved it AFTER I printed this, but the print works perfectly as-is so I didn’t need to reprint it.
Here’s an overview of the printer as it is now.
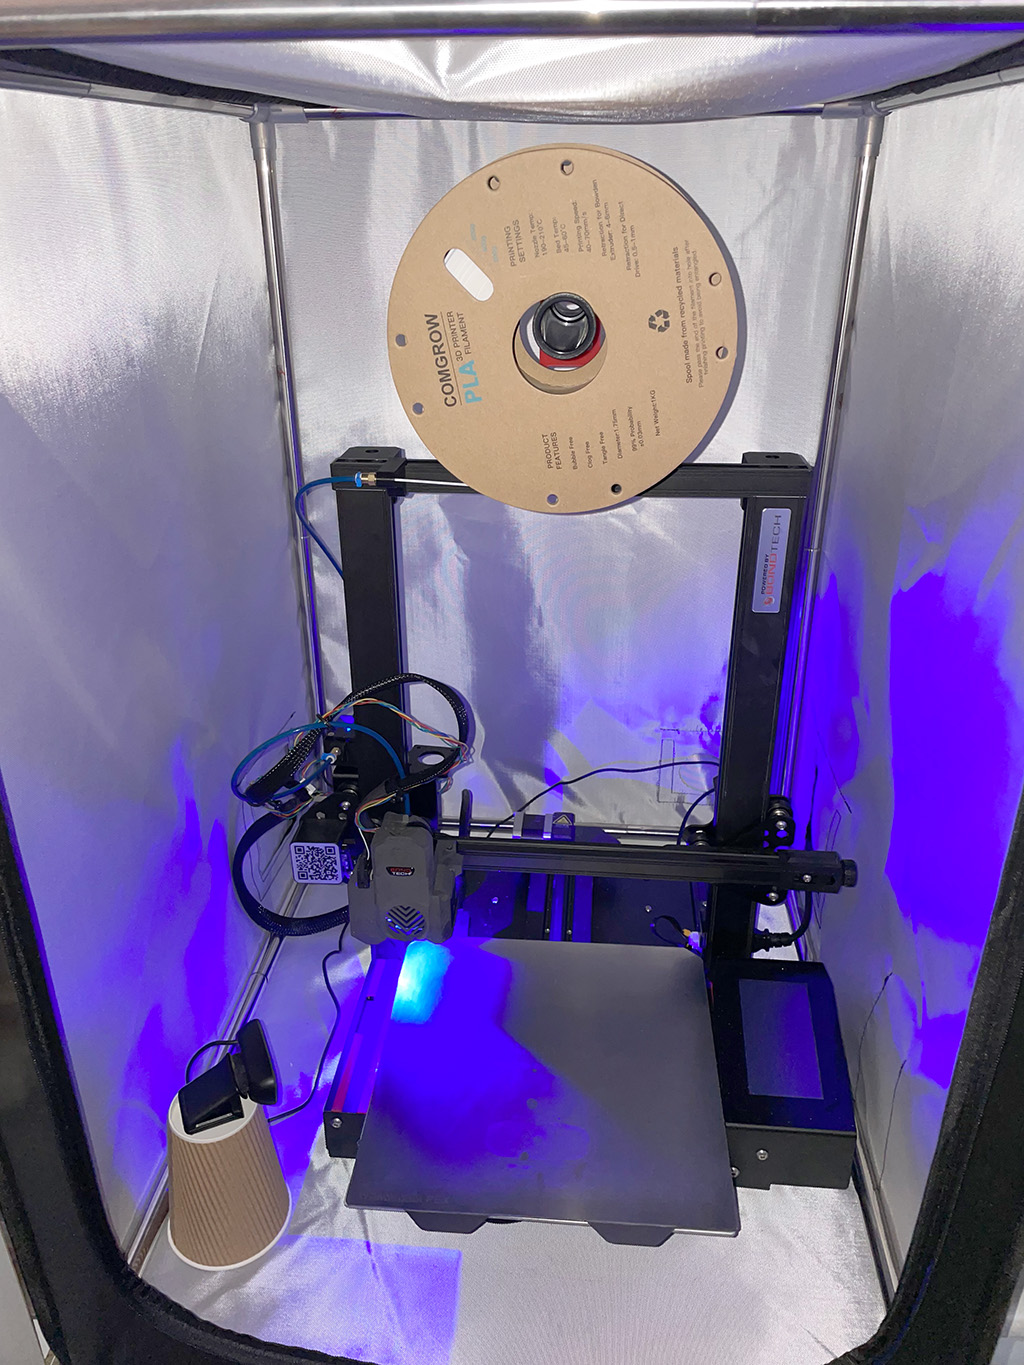
The control pad on the right is currently disconnected since it is not supported by Klipper. I may end up removing it at some point.
Note the webcam on the disposable cup. I have just finished printing a flexible mount for it, I just need to assemble it, but will probably have to order some screws and nuts, or glue it together or something. I haven’t decided yet.
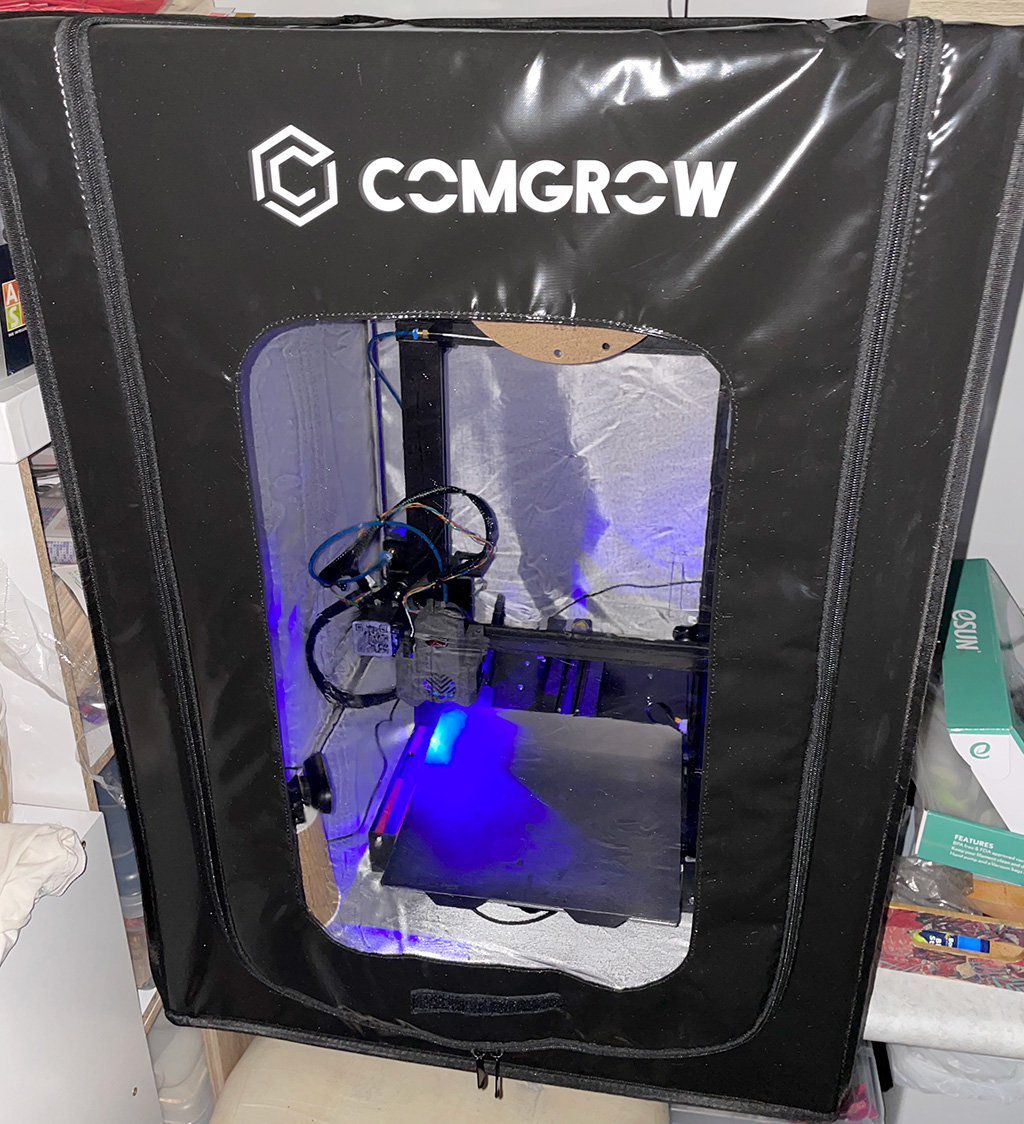
The enclosure when it’s sealed up. It just barely fits on the counter. I’ve just ordered some smart plugs and an LED light bar for the enclosure. If I switch off the office top light (it’s usually off), it’s difficult to see what’s happening during the print. Apparently Klipper supports smart plugs so I will be able to remotely switch the printer on and off (as well as the light bar).