I got a Creality CR6-SE near the end of last year.
Before even starting to properly use the printer, I installed the community firmware, which is a damned sight better than stock (apparently). I like it, anyway.
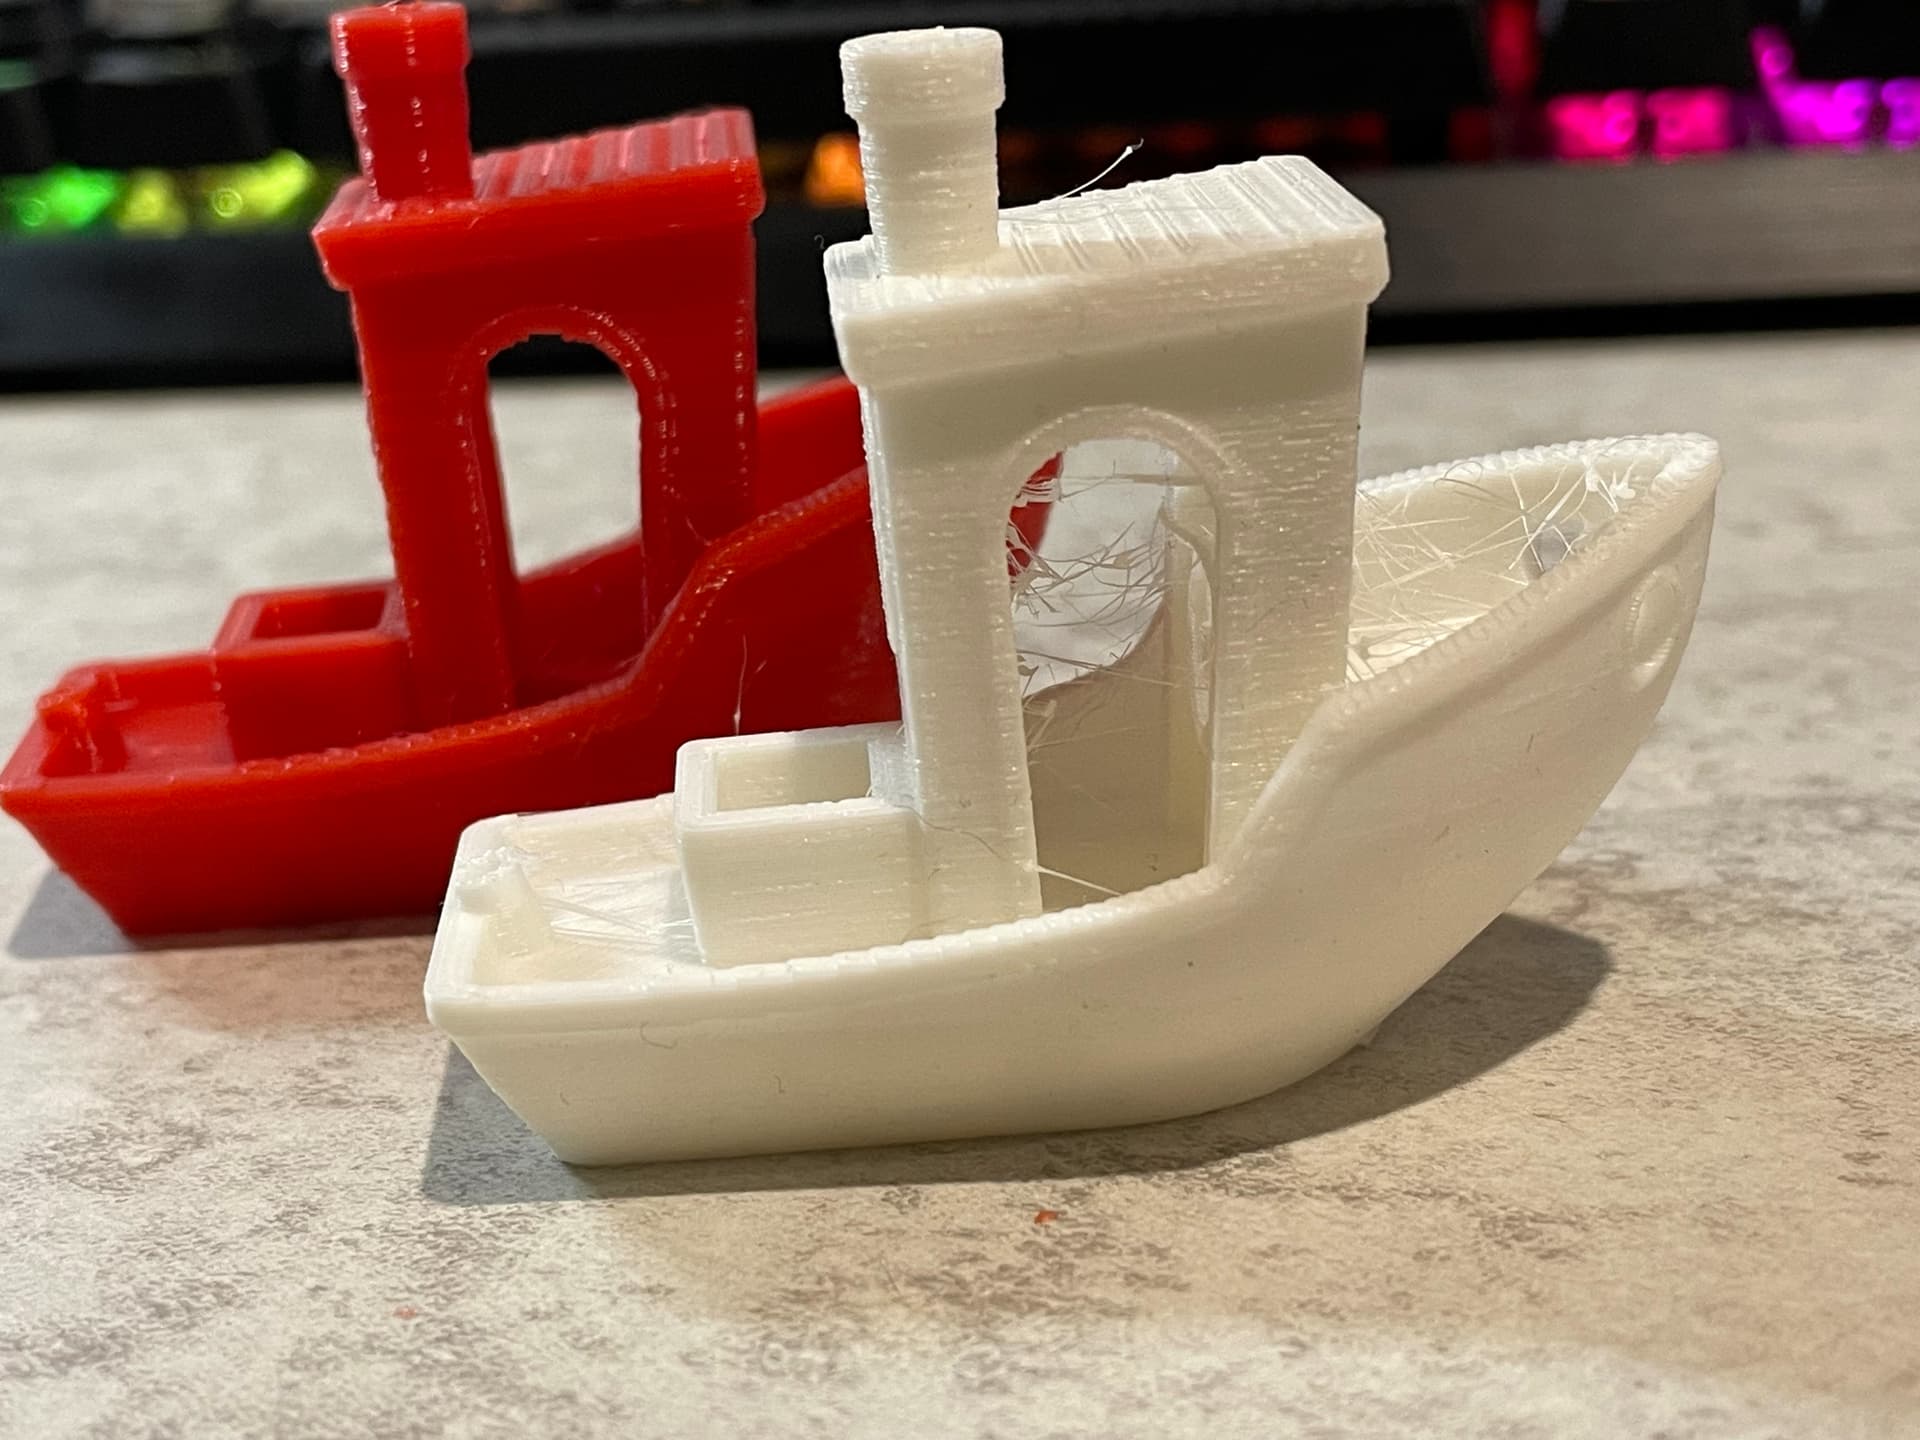
I managed to print a few things before I started getting frustrated with it. I had hassles with prints not sticking properly. Tried hairspray, but it was a bust (I just used what my daughter had, a different brand may have worked better), tried a glue stick with some success, but ultimately was having hassles with the print unsticking during prints. Also there was heavy stringing despite doing multiple variants of calibration towers (heat, stringing, etc).
I was so frustrated with it that I just stopped using the printer.
A few weeks ago, my wife wanted me to print something, so I figured I’d give it another go and see if I could solve my problems. I managed to find some useful tips and various YouTube videos specific to this printer.
This printer has an auto leveling function that uses the pressure of the nozzle pressing in to the bed. It’s quite nifty, but I realized that the leveling matrix was quite different every time I ran the leveling, so something was definitely off.
Apparently a common problem with the leveling system is that the print head presses too hard during leveling, so using my digital kitchen scale, I checked the pressure. That was well within the recommended range, so it wasn’t that.
Something I noticed that seemed a bit off to me, is that the Y-axis had a distinct thump near the middle, and towards the ends while moving it back and forth, almost as if there were stops, however it has been doing this ever since I got it, and surely the factory wouldn’t mess this up, right? After consulting the discord server for this printer, I found out that the stops/thump are definitely not normal, so I figured out how to remove the bed (quite a few screws - most of which were really easy to unscrew… (hint) ?. Anyway, removed the heated bed plate and figured out how to adjust the rollers - the back one was really tight, and there was rubber debris on the wheels. I loosened up the wheels until the bed wobbled, and then gently tightened them again until the bed was solid with no wobbling. No more thumps!
I reassembled the heated bed plate - which was interesting, as it sits on loose plastic cylinders that you put the screws through, so it was a bit of a challenge to line everything up without sending them flying, considering there’s 11 of them. I made sure that the bed screws were tight.
I also checked the level of the x-axis, and it seemed to be spot on. Re-ran the leveling process, and the result was much improved.
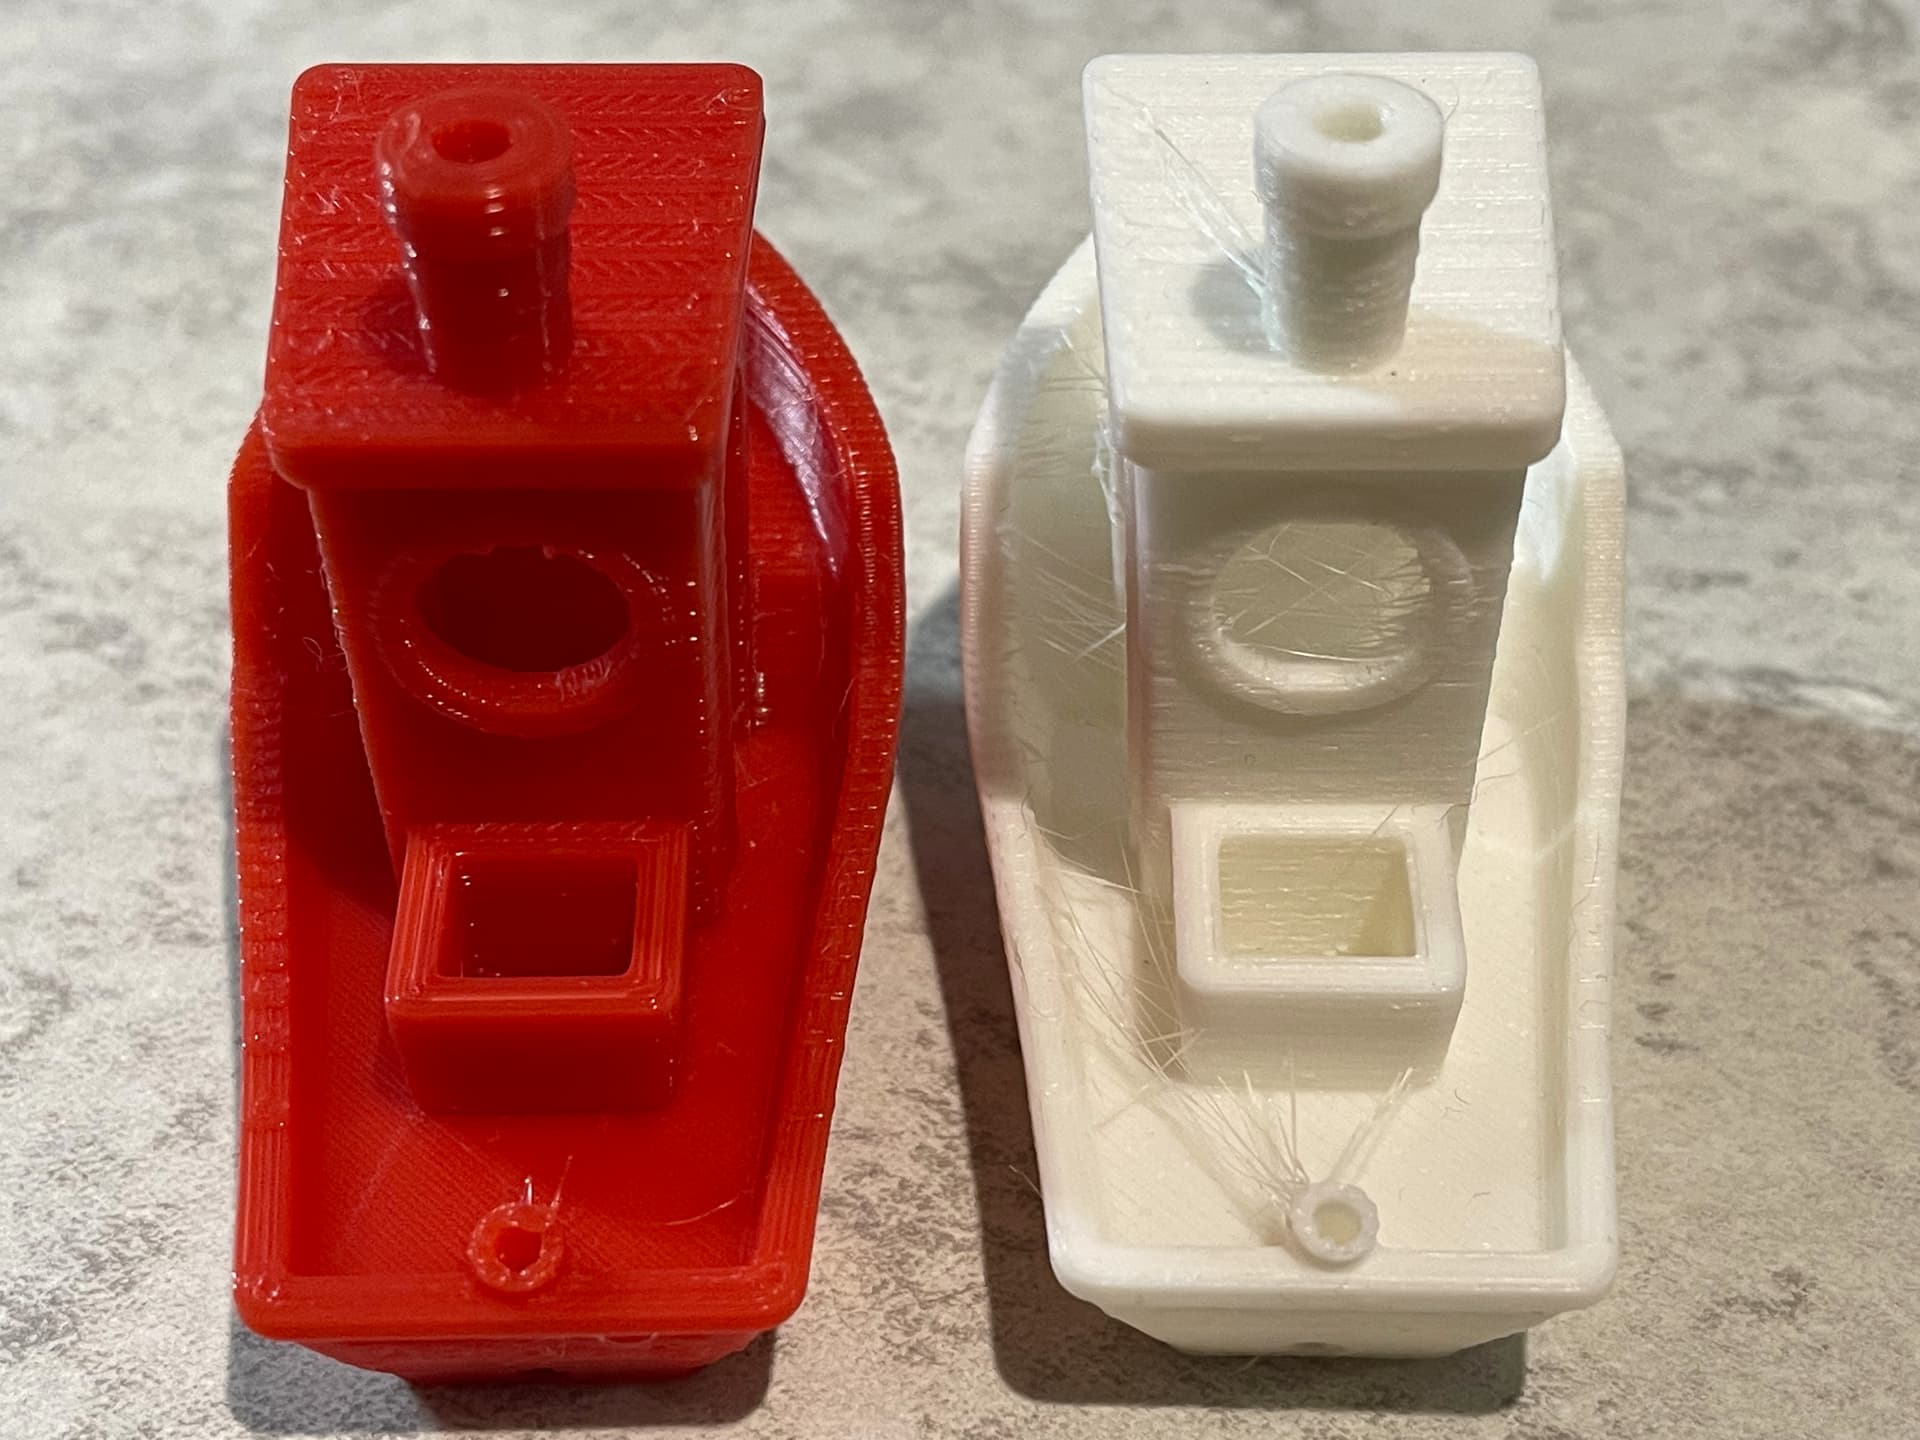
I was ready to do a test print. But tragedy! I discovered that the remote extruder cover had cracked. Apparently it’s a common problem with these extruders. Dependable extruder, my ass.
Trying to load filament resulted in the dreaded extruder click. Filament would not move through it as it had no grip.
I scoured Amazon for a metal dual gear extruder, and ordered it.

It ships completely disassembled.
Following some advice I saw on a youtube video, before assembly, I filed down the grip gear enough to install a home made plastic washer and also greased the bearings on the grip shaft. There’s supposed to be a washer on the top and bottom of the gear, but I had no more patience for sanding that gear, so I just installed one.
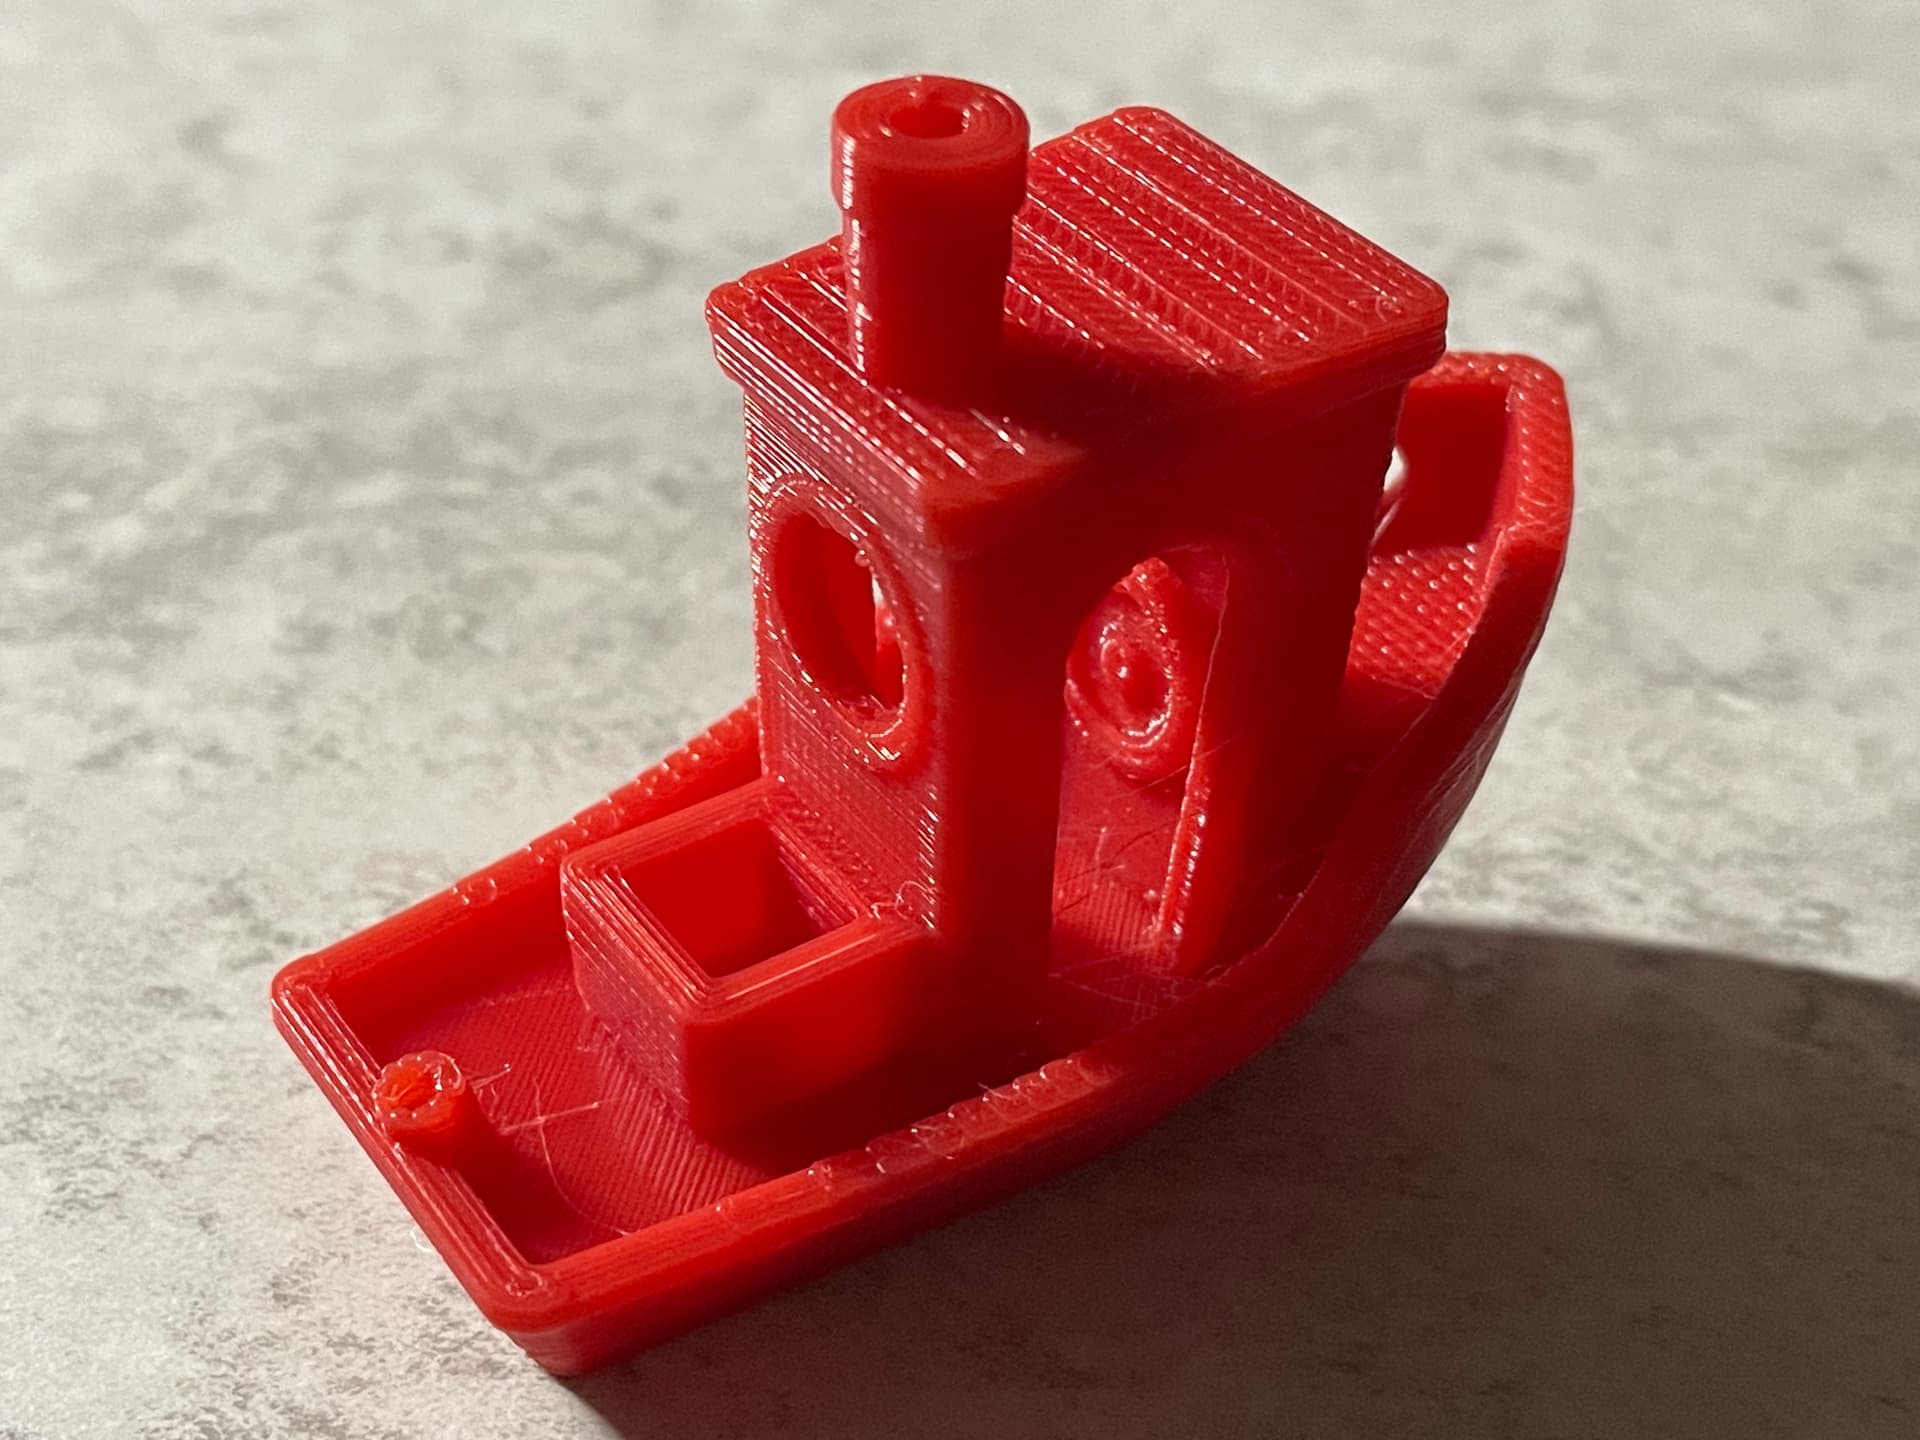
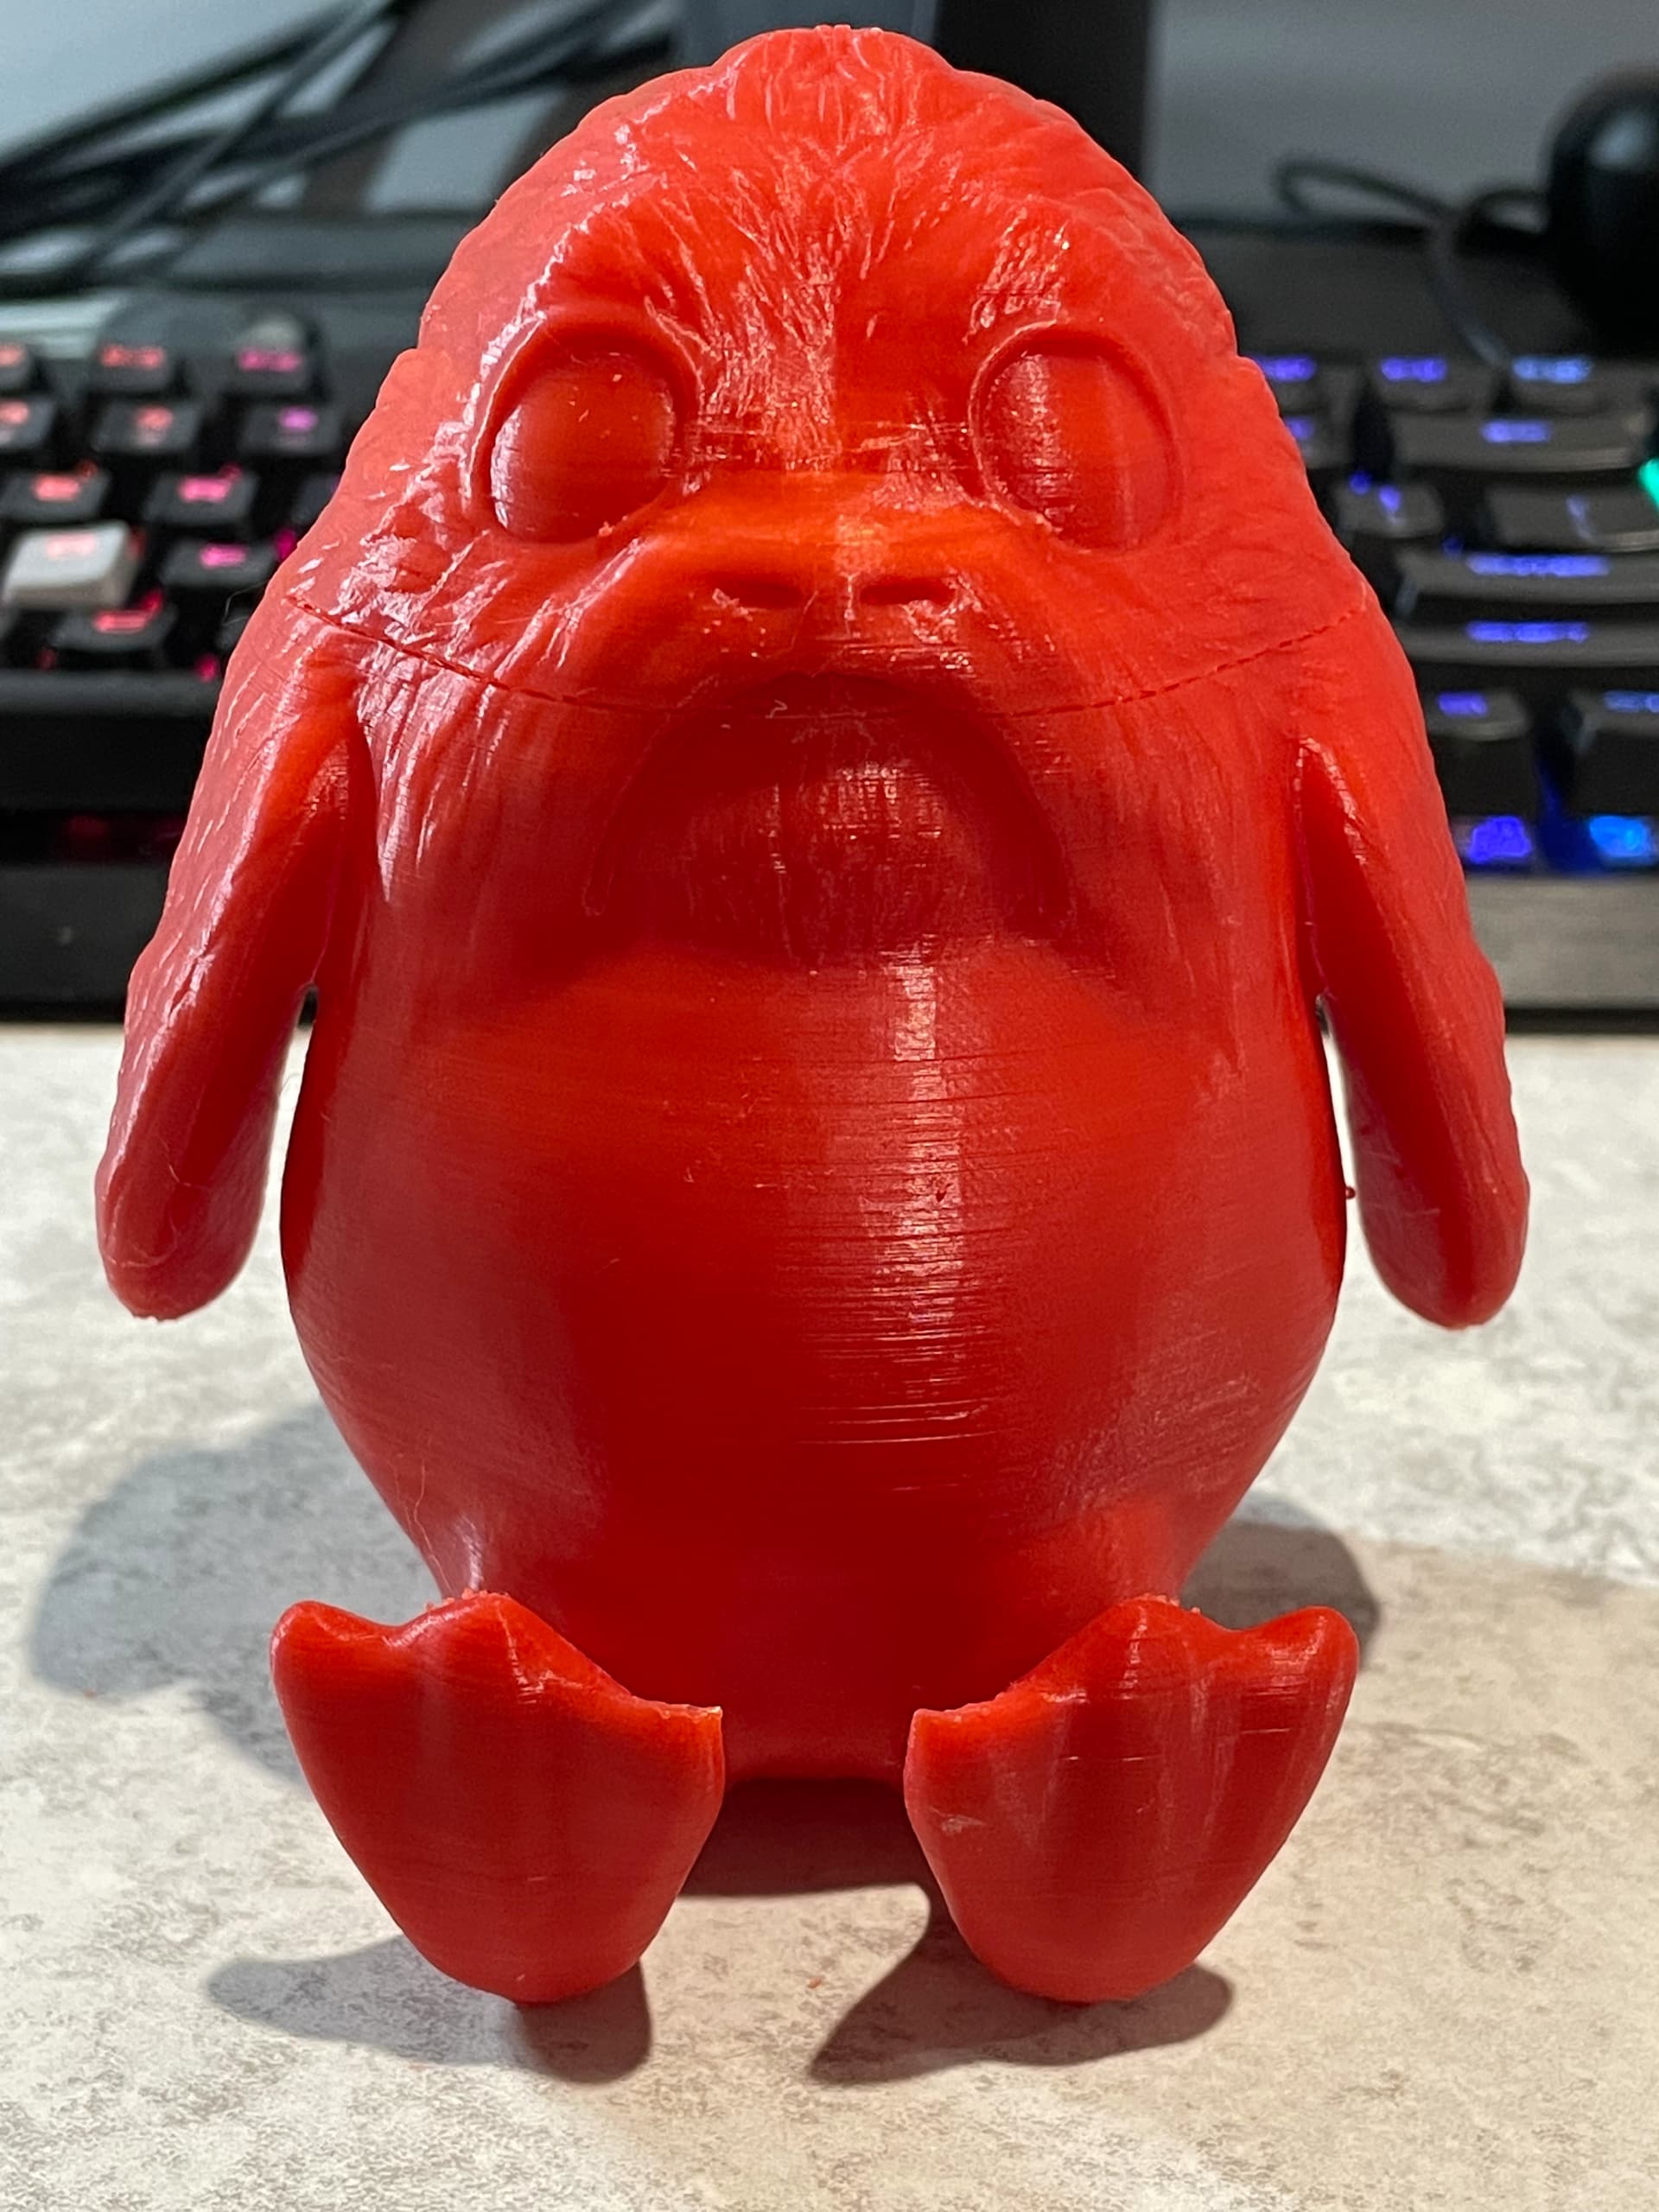
Now fully assembled and installed, I realized another issue. The filament entrance for this extruder is a good ~10mm higher than the original extruder, and there is a filament-out sensor prior to the extruder. I had to remove the sensor so I could print a shim to raise the height. I just left the sensor loose temporarily, but the new extruder works a treat! Successfully re-calibrated the e-steps (did it twice in a row and there was no difference for the second one). Printed the leveling pattern successfully, so then tried to print the sensor shim, which printed with no issues. Shim & sensor are now properly installed, and everything is working like a bomb. I’m able to print with a freshly washed (dish detergent) glass bed and the print sticks properly, no glue necessary. In fact, I have now done several prints and they’ve all turned out great.
Currently have a print running that’s on 16h51m of a ~17h33m-estimated print and so far so good.
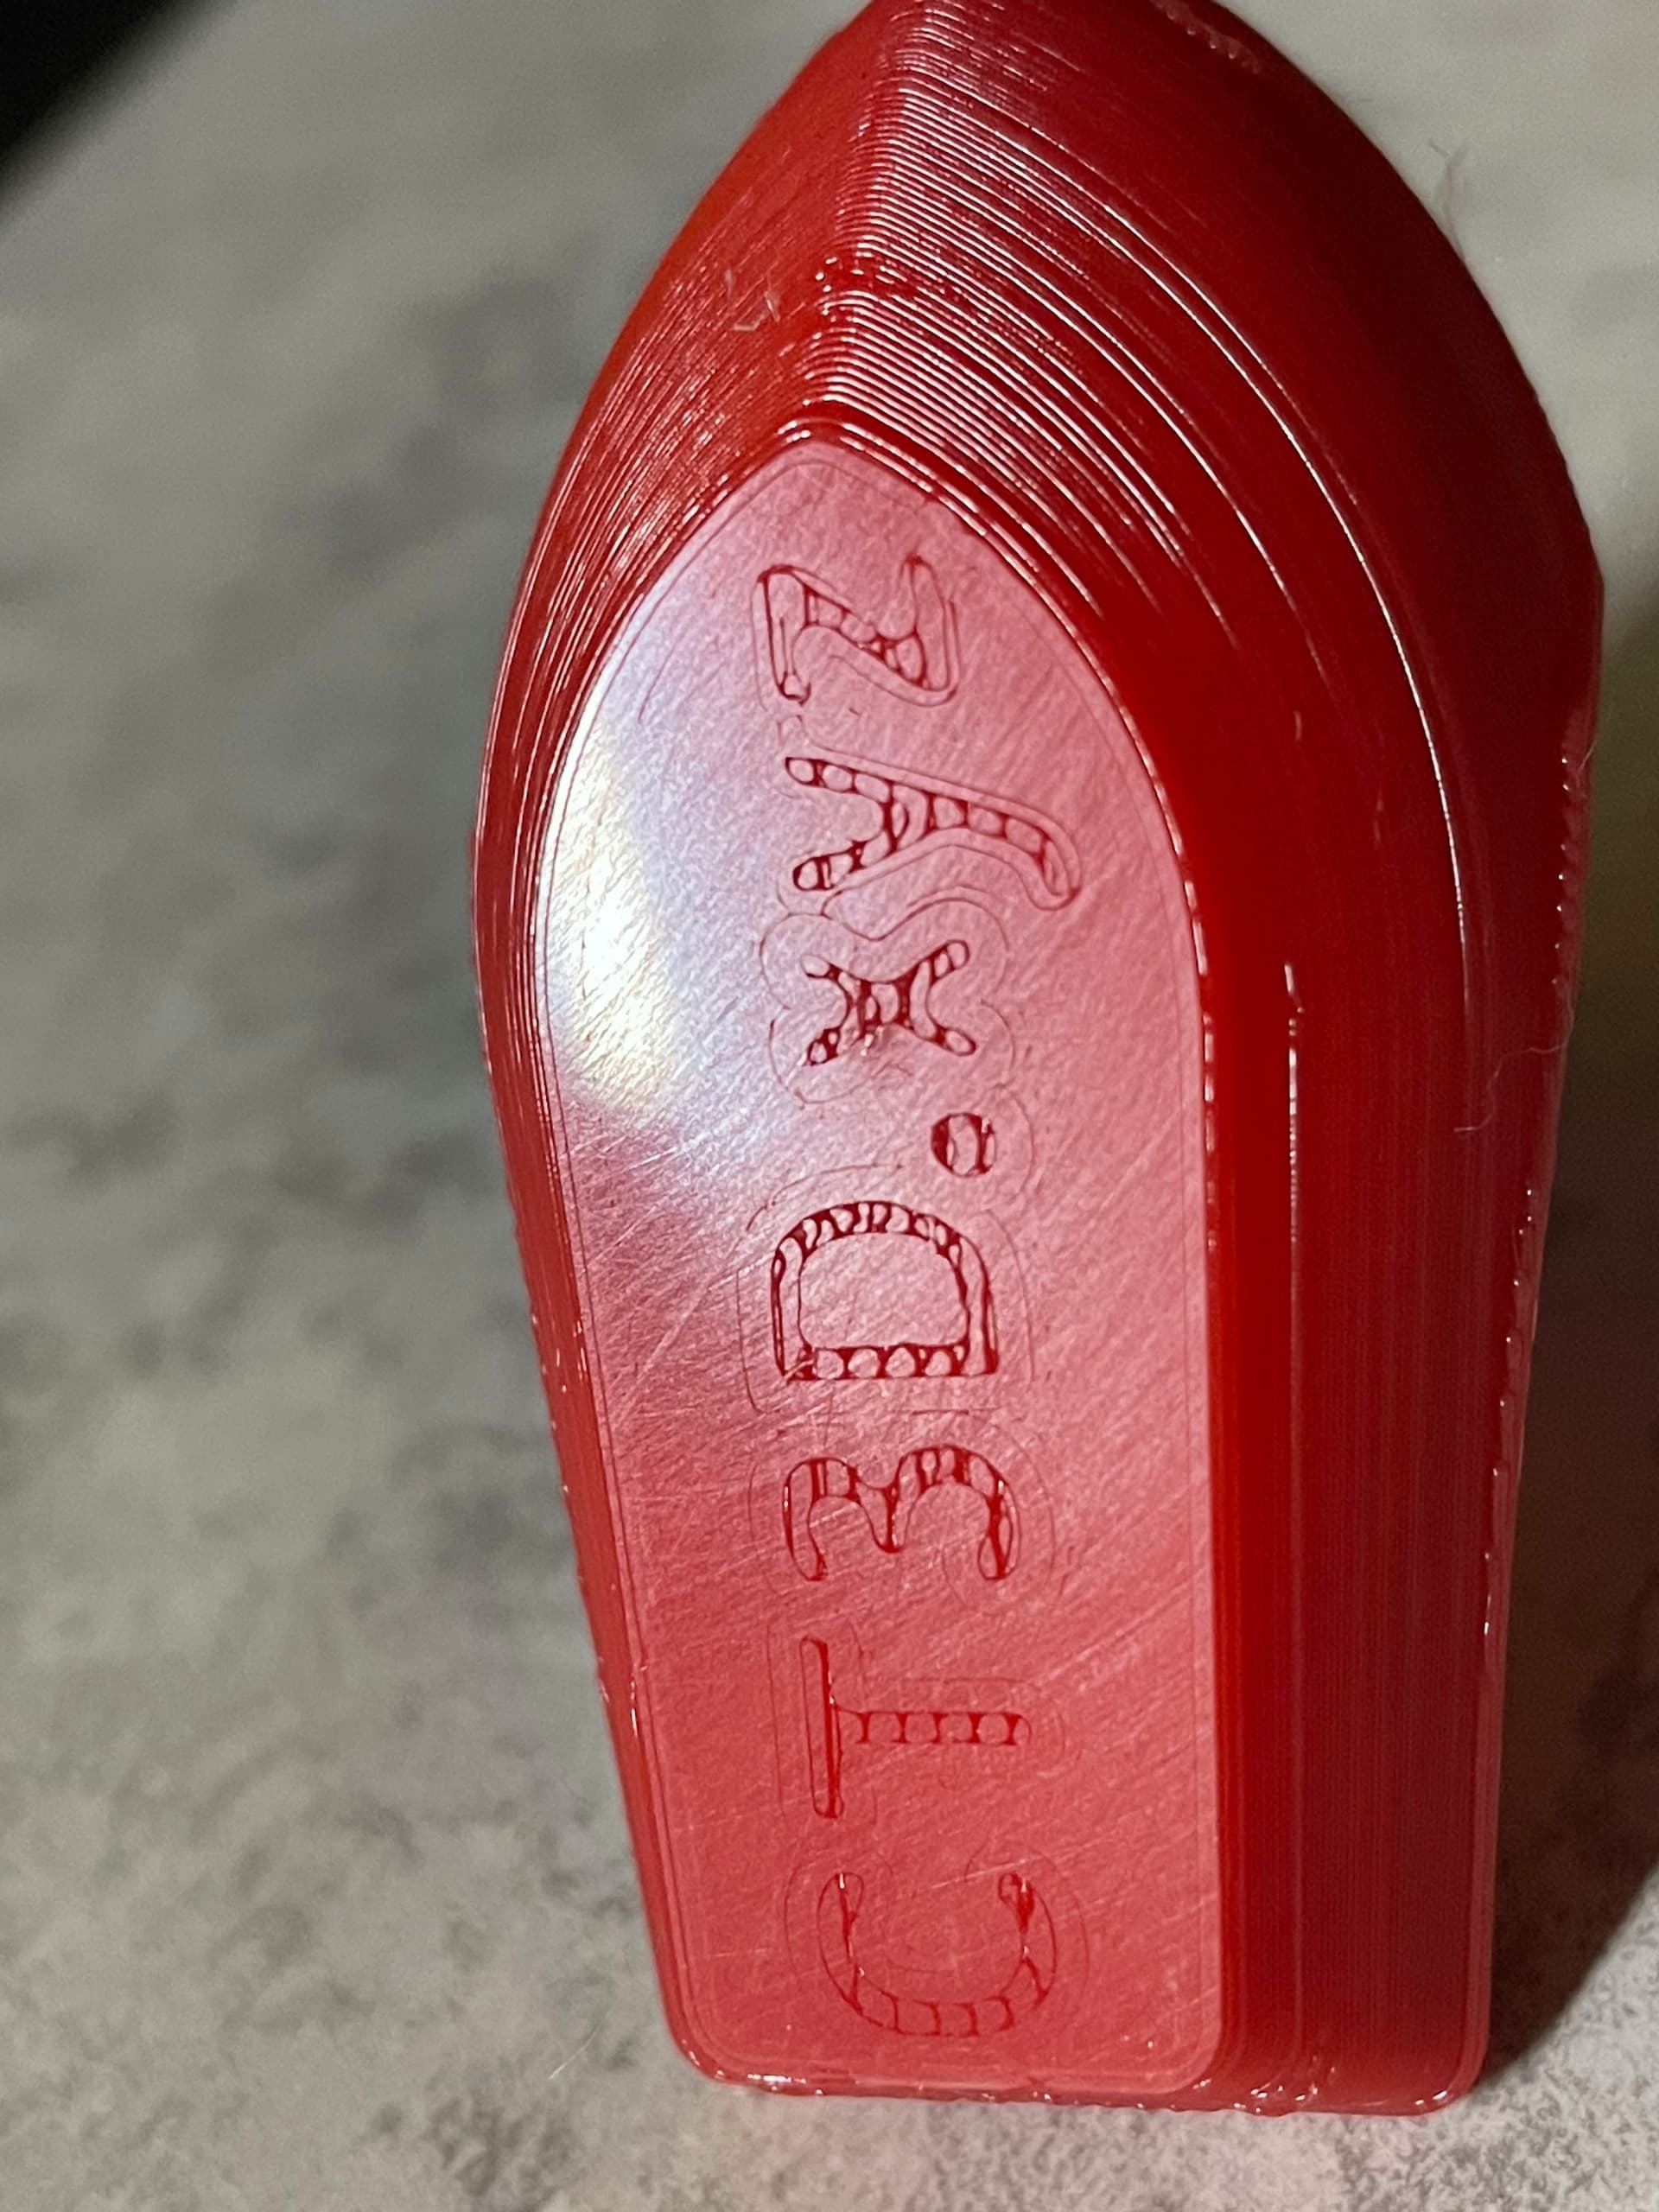
I must say it’s very satisfying experience to design something and then print it.
Oh - and something else I changed, was that previously I was using Cura slicer. This time around I decided to give prusa slicer a go, and I have had zero problems. So not sure if it’s all the adjustments I have done to the printer, or the slicer, or a combination of both that is working for me.
I’ve also just ordered a Wham Bam Flexible Build System for the printer - apparently it helps a lot.