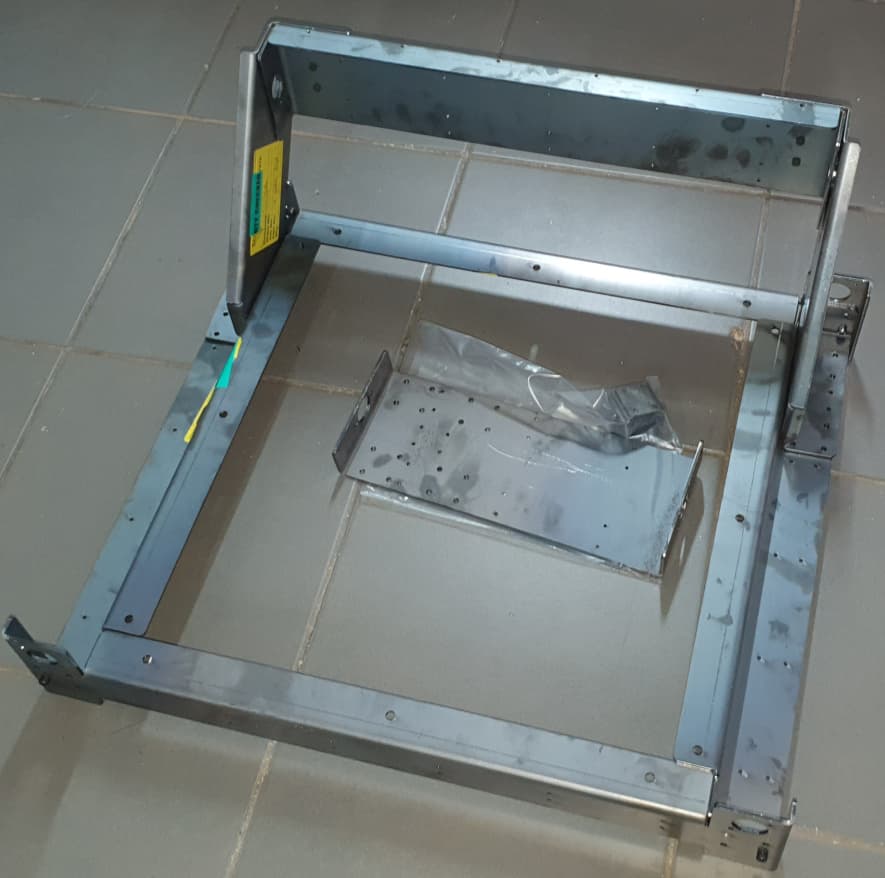
I’m busy designing a CnC from scratch. I’ve got one at work, but it’s belt driven (with very small belts) and so you can’t really cut stuff like aluminium without fouling it up and losing steps and going off at a tangent.
Yeah I also chose those two. Easily accessible hardware with firmware that ain’t bloated for 3D printing.
Glad parts at least on the way. The stories I’m hearing you are either not getting anything or it’s going to cost a lot more than it used to. I’ve shelved the PicknPlace design for now but I settled on the same setup (arduino with gbrl).
Found some firmware that allowed me to control 6 axis and I further modified it for inputs and outputs. Shout if it would interest you. CnC generally don’t need that much though.
It might become necessary if I add a rotational axis… Which is extremely unlikely at this point!
I’m not able to design electronics stuff from scratch unfortunately, but the up side is that I know the hardware works!
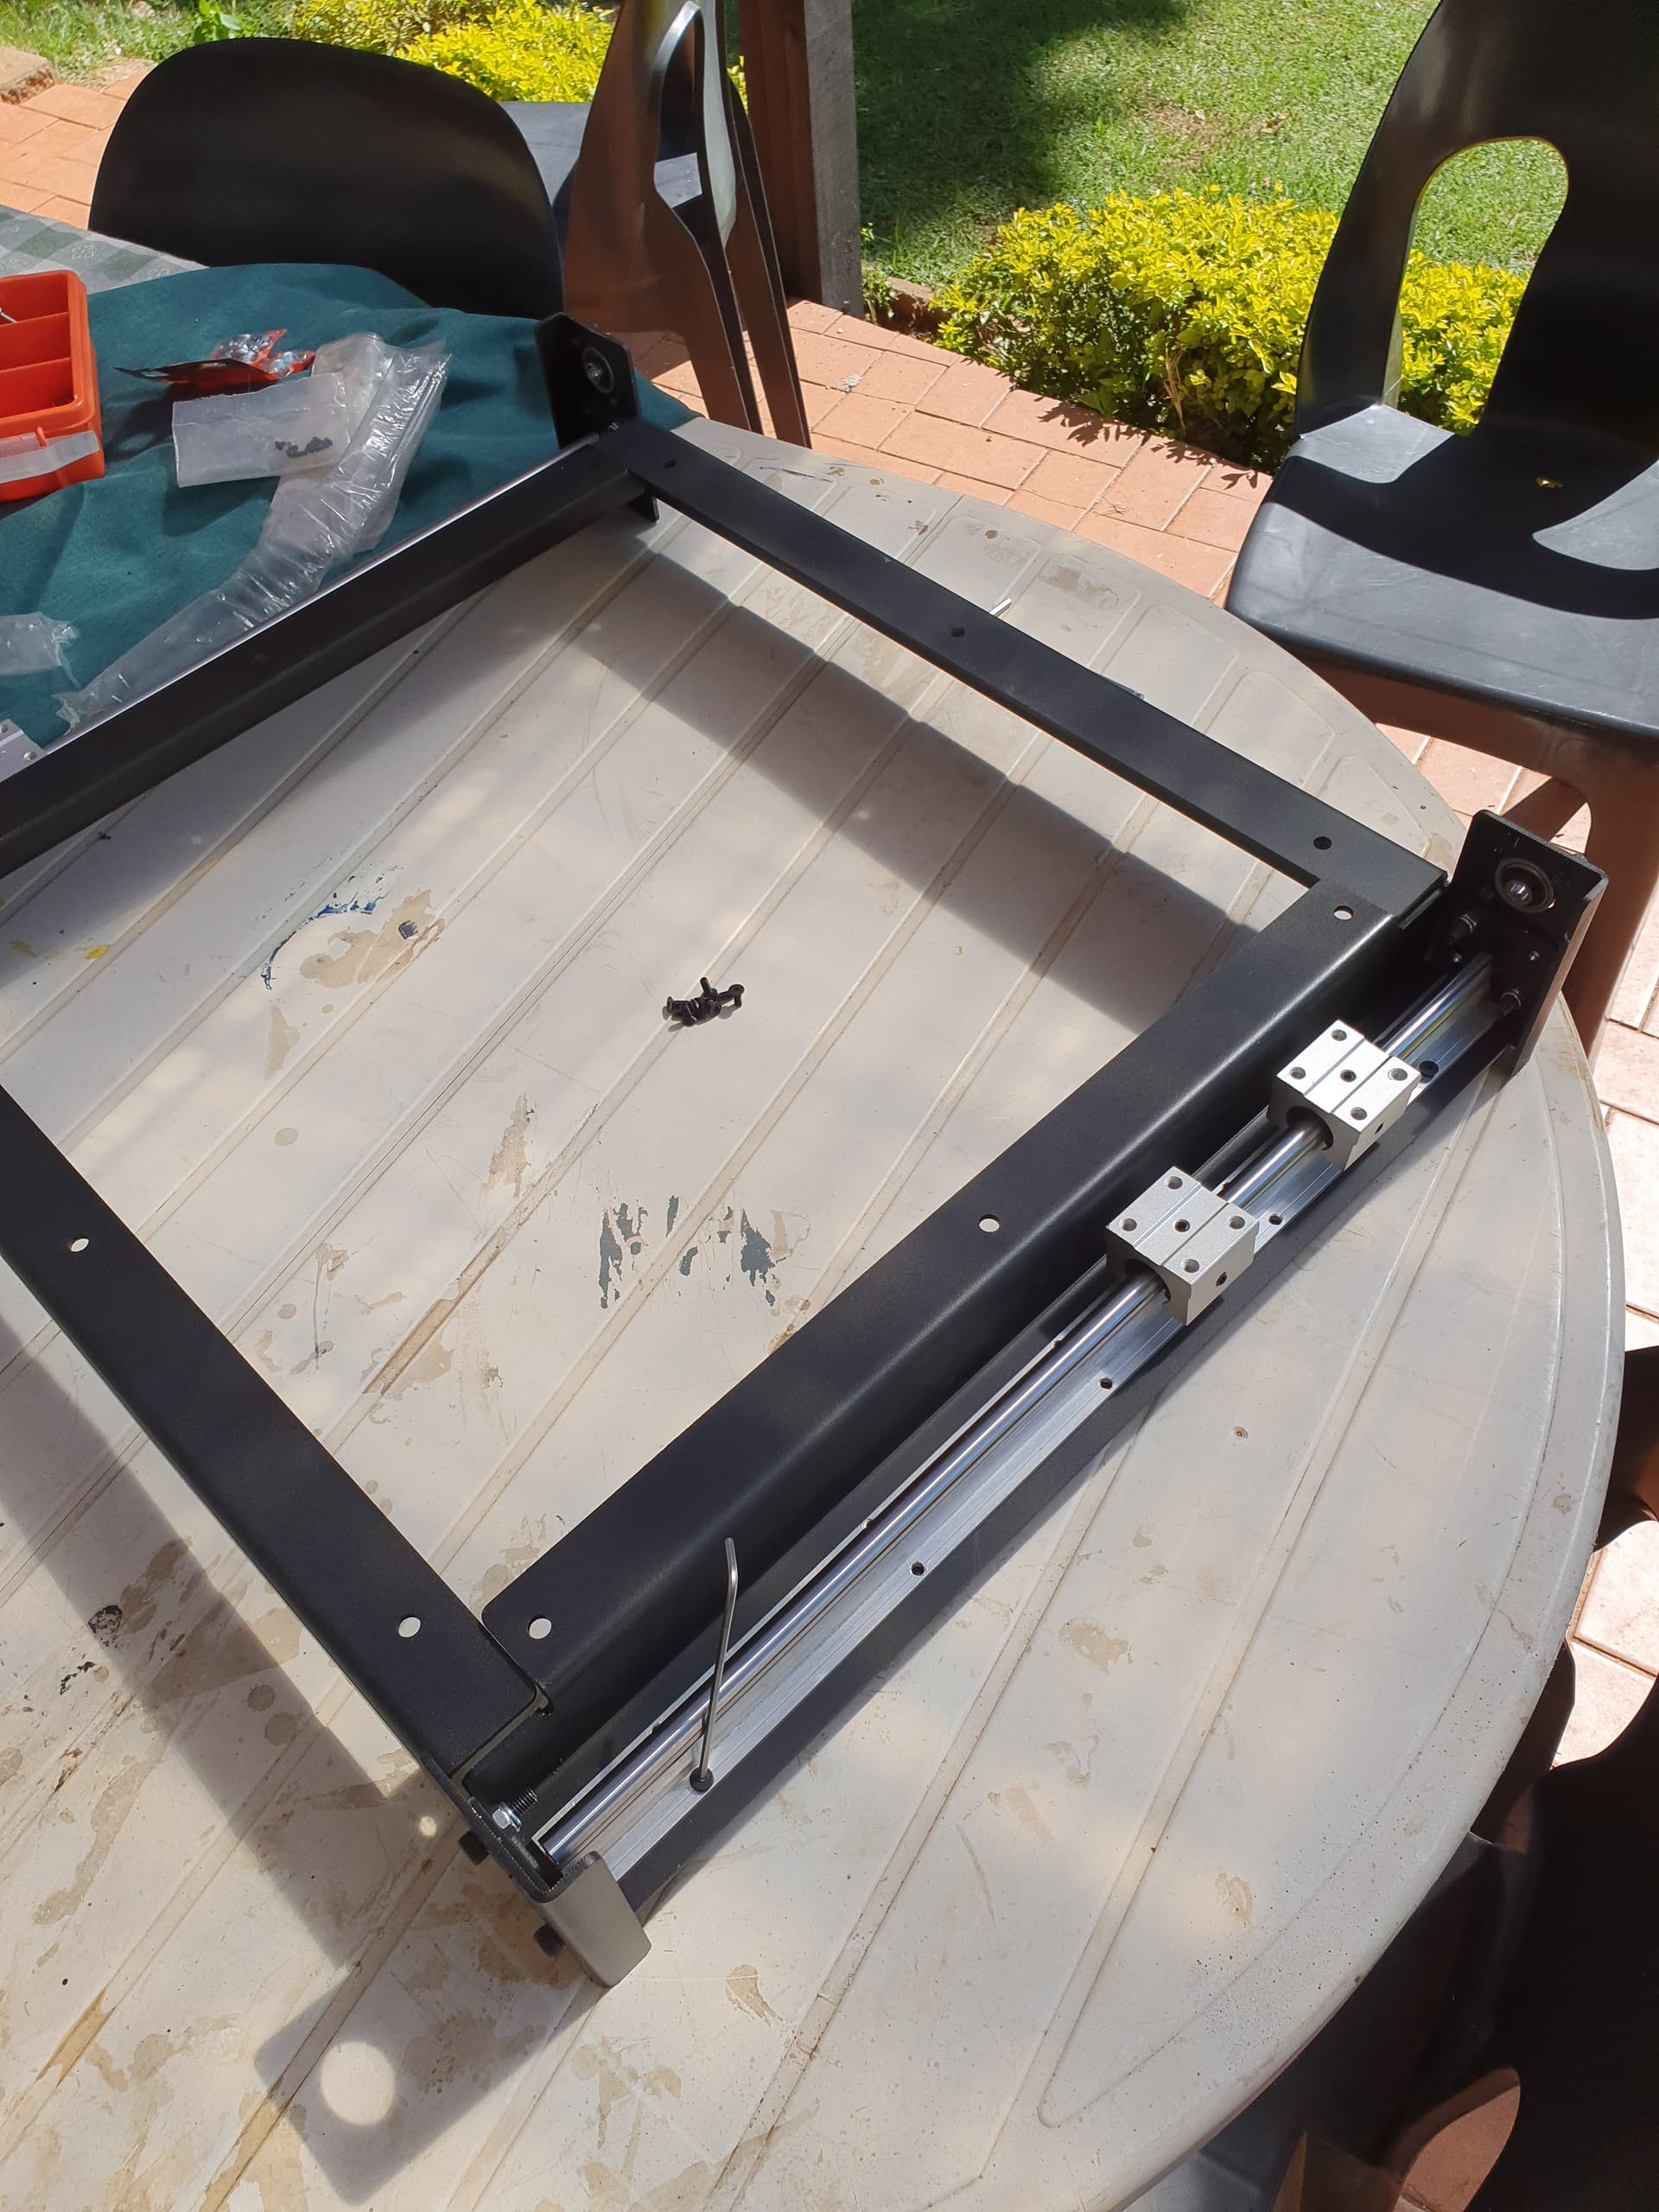
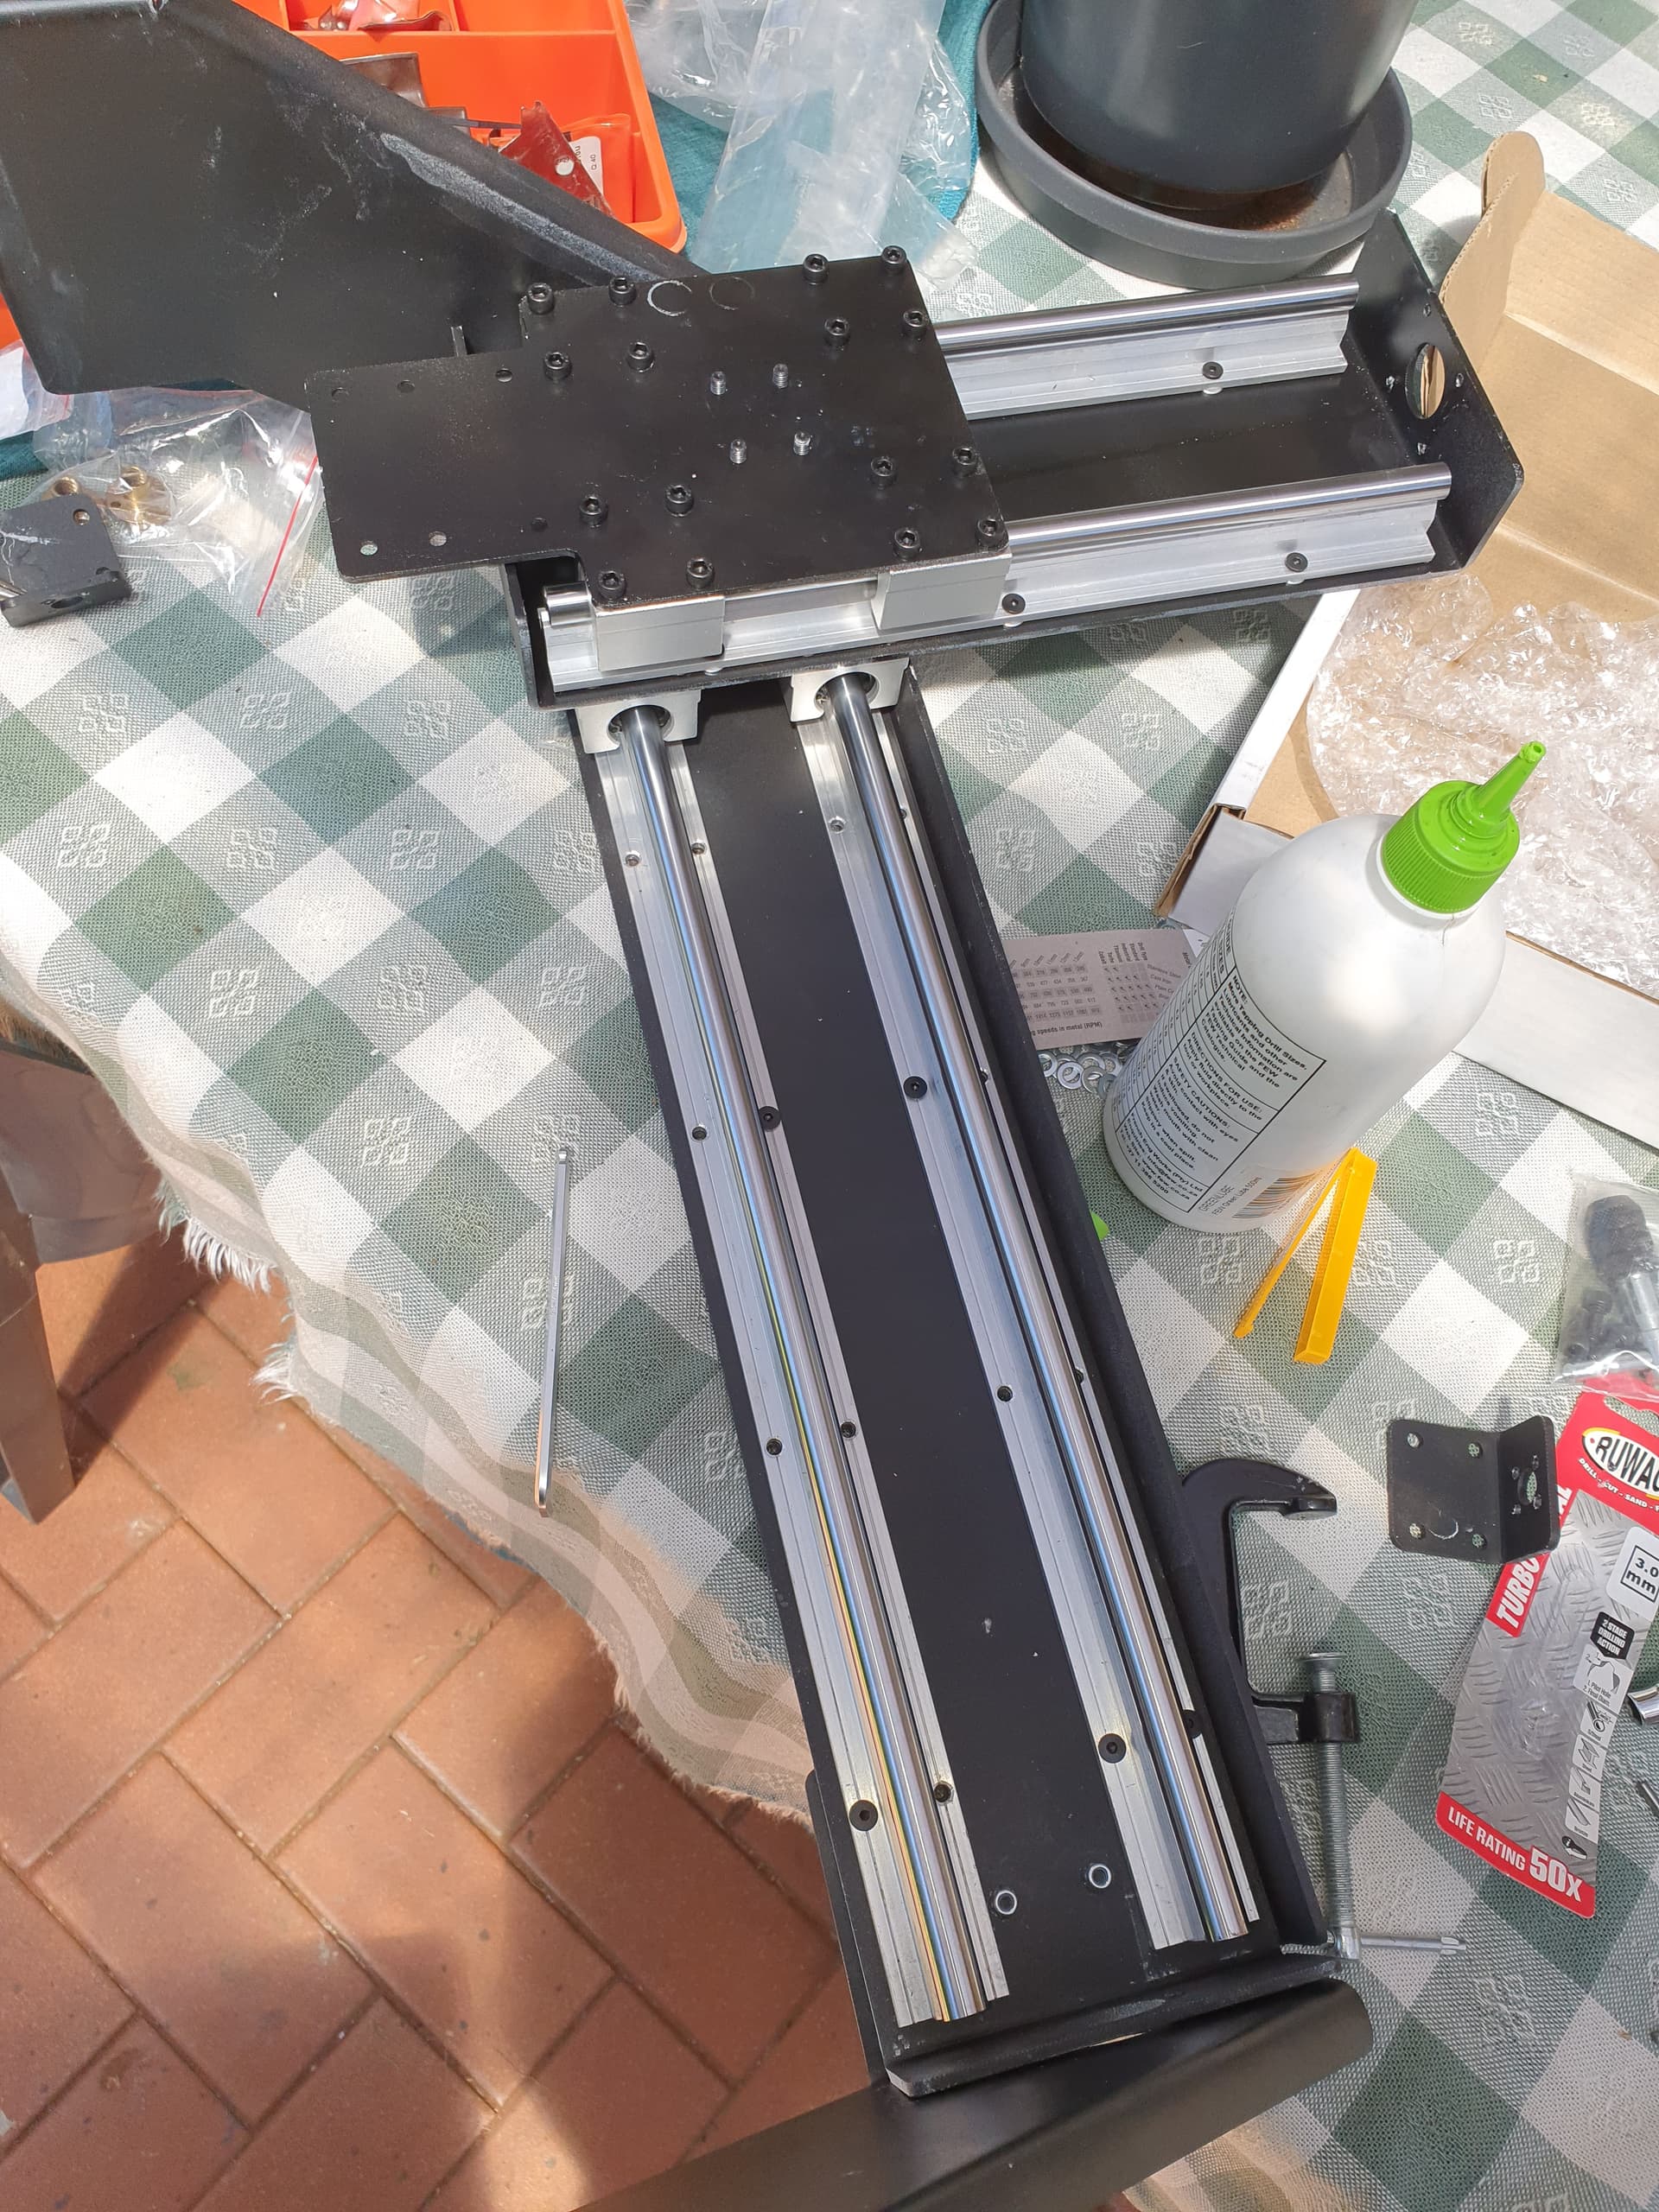
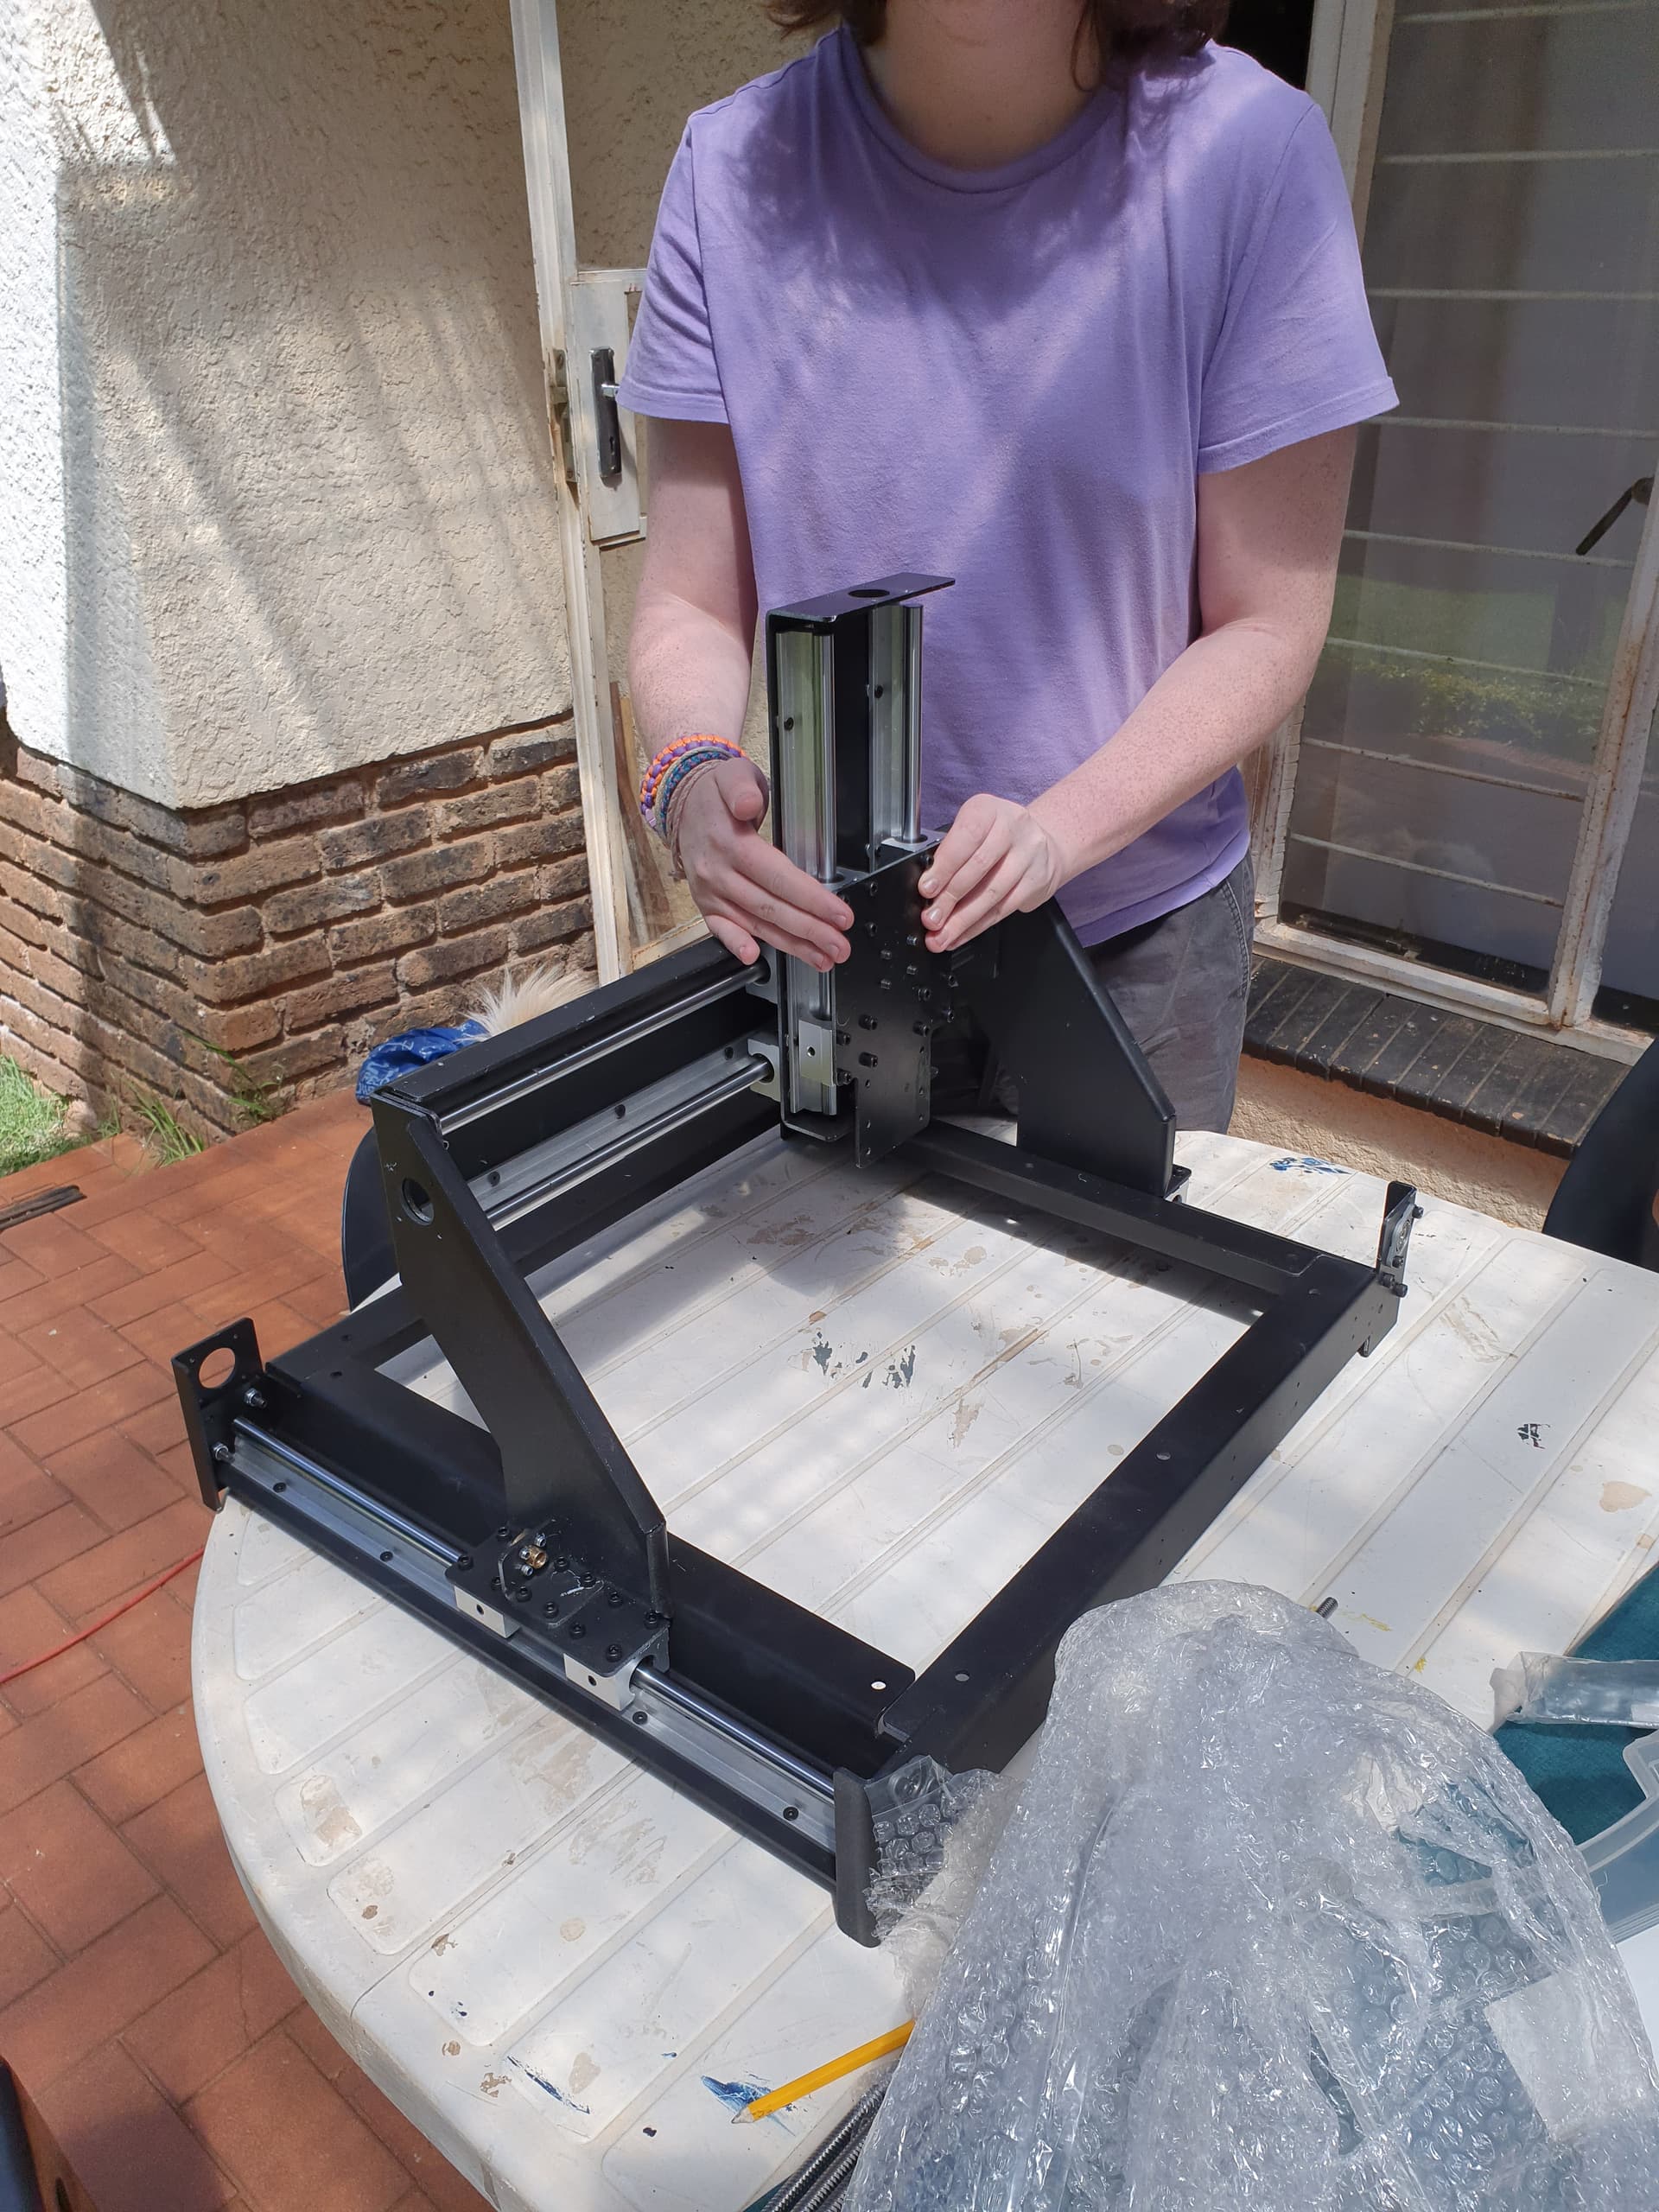
The linear rails are like R1k each apart from one local manufacturer who hasn’t jumped on the overpricing bandwagon yet, so guess where I went shopping! Only has a couple of lengths, which mean that the Z axis is WAY more than needed because otherwise I’d have had to cut the bearing and threaded rod shorter.
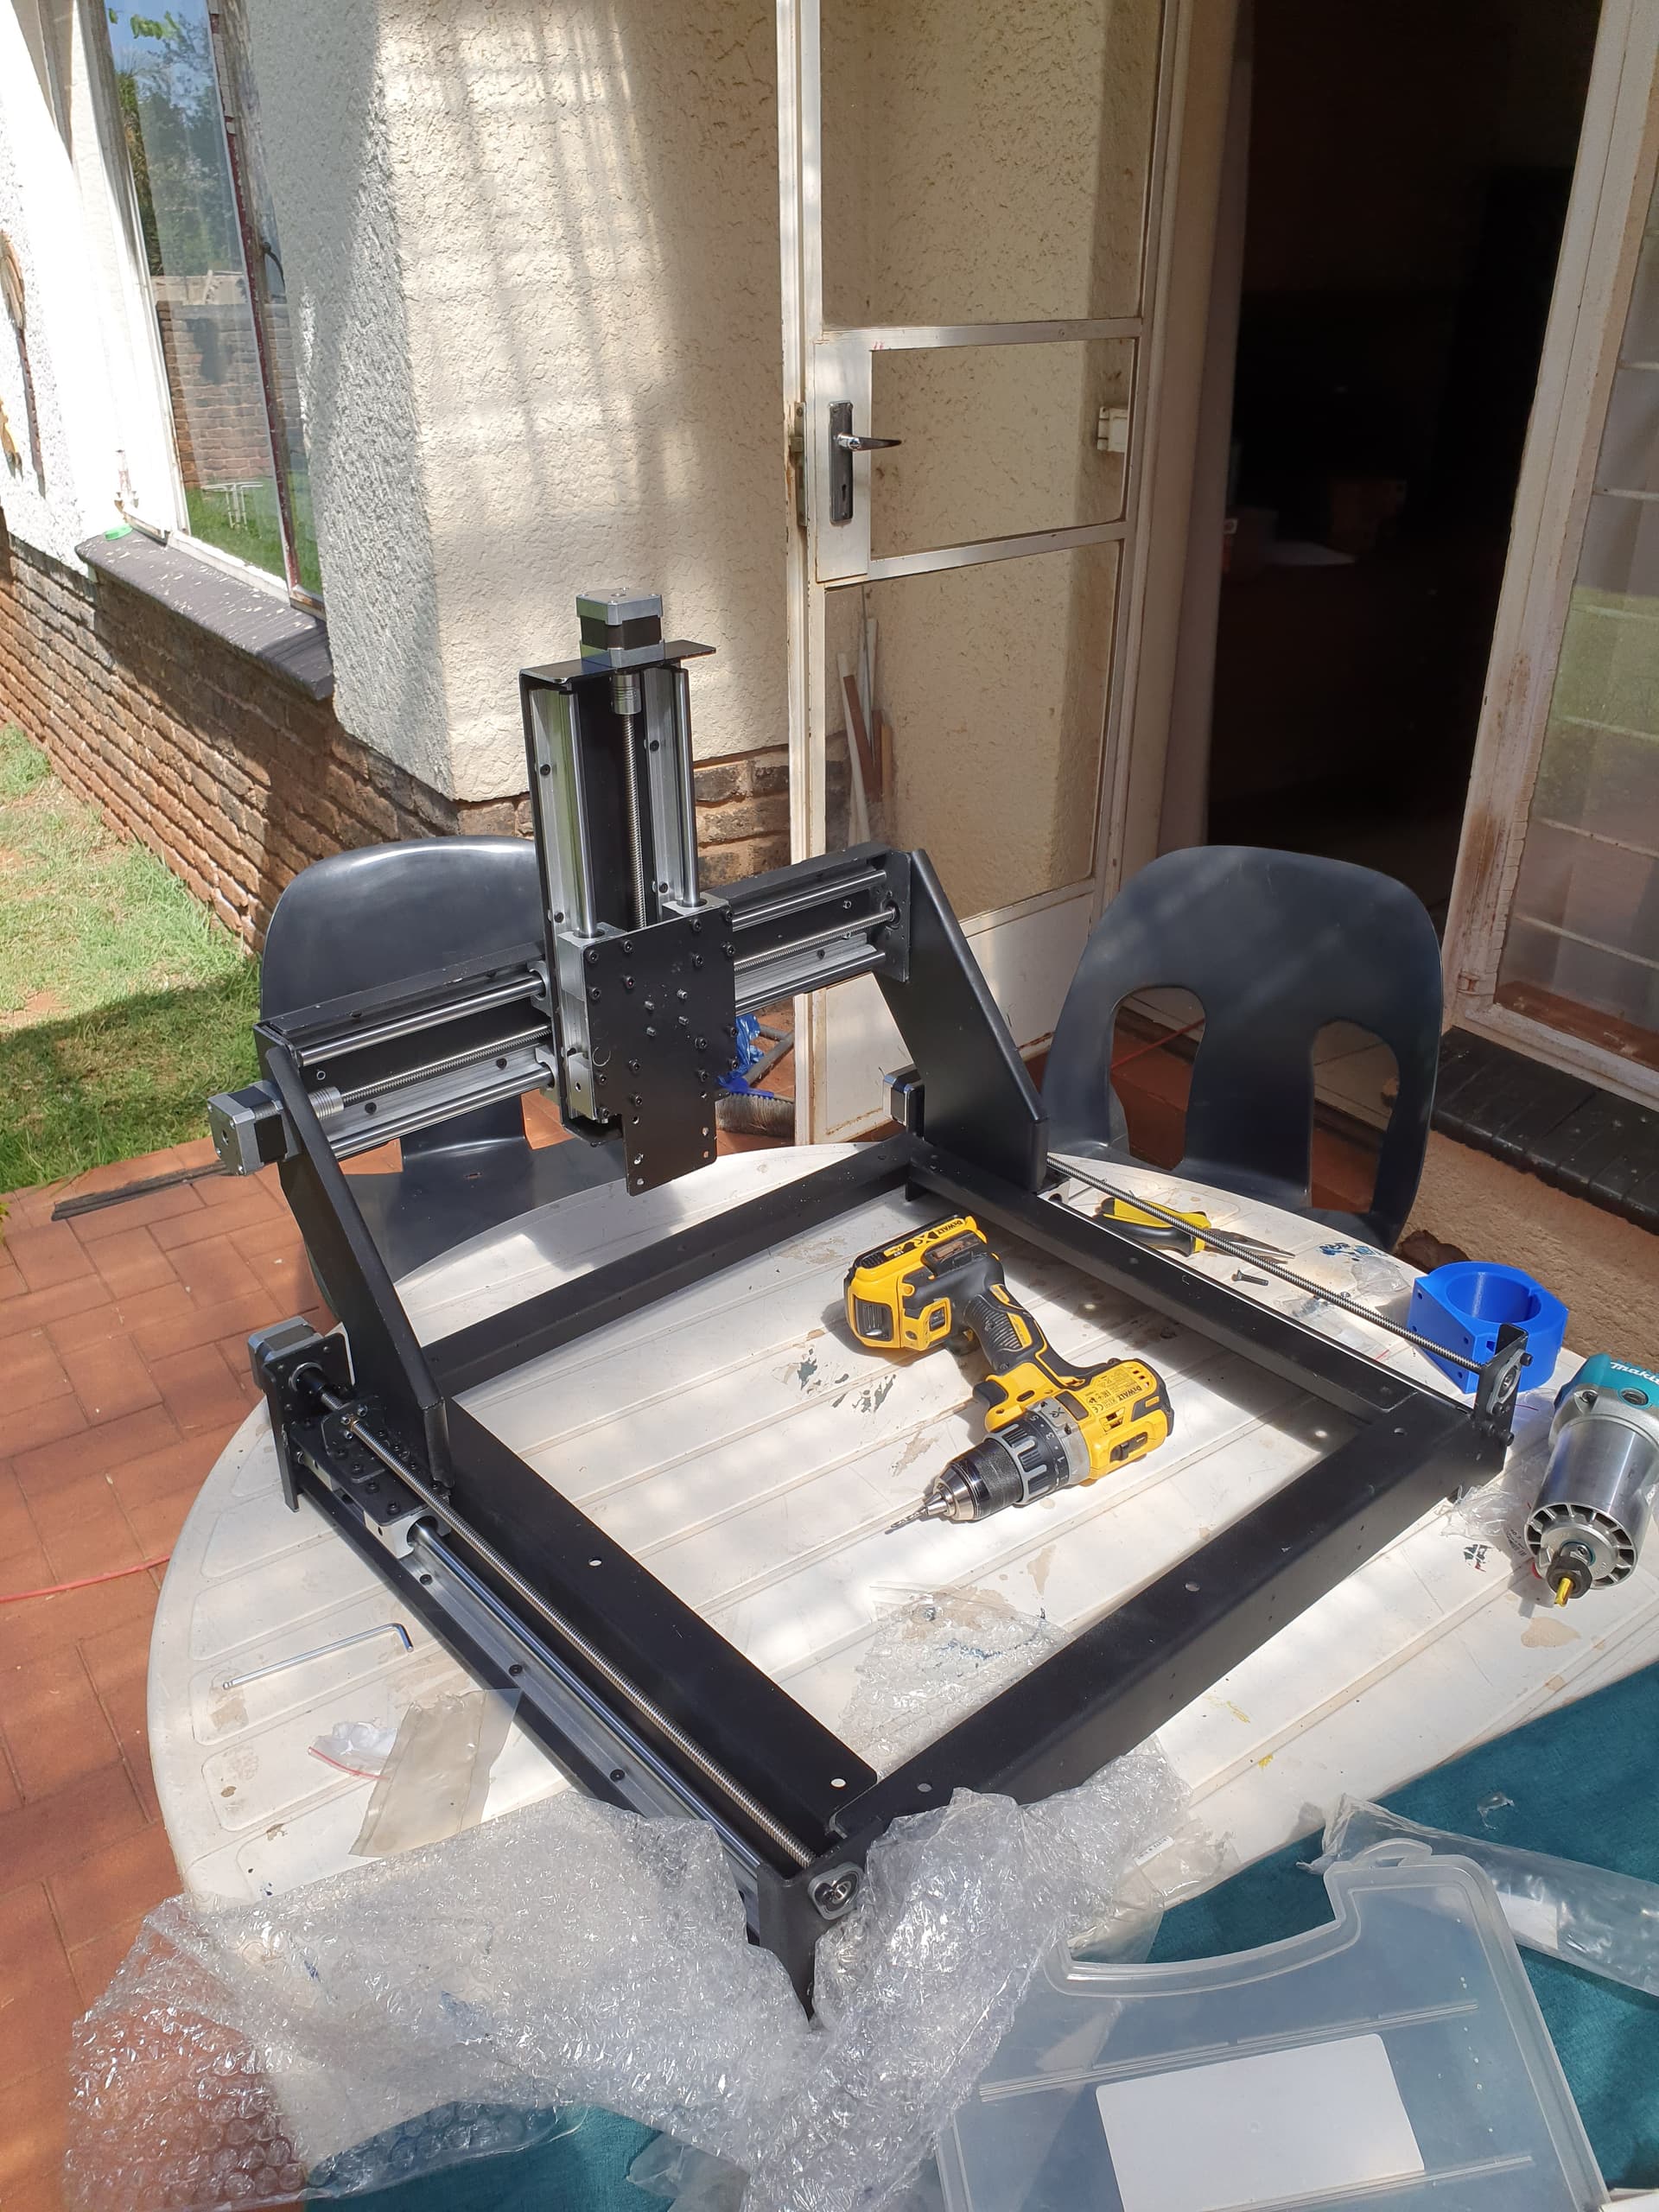
It’s alive! It’s rather noisy from a motor perspective, but when the router is going I’m pretty sure that’ll be the least of the noise issues!
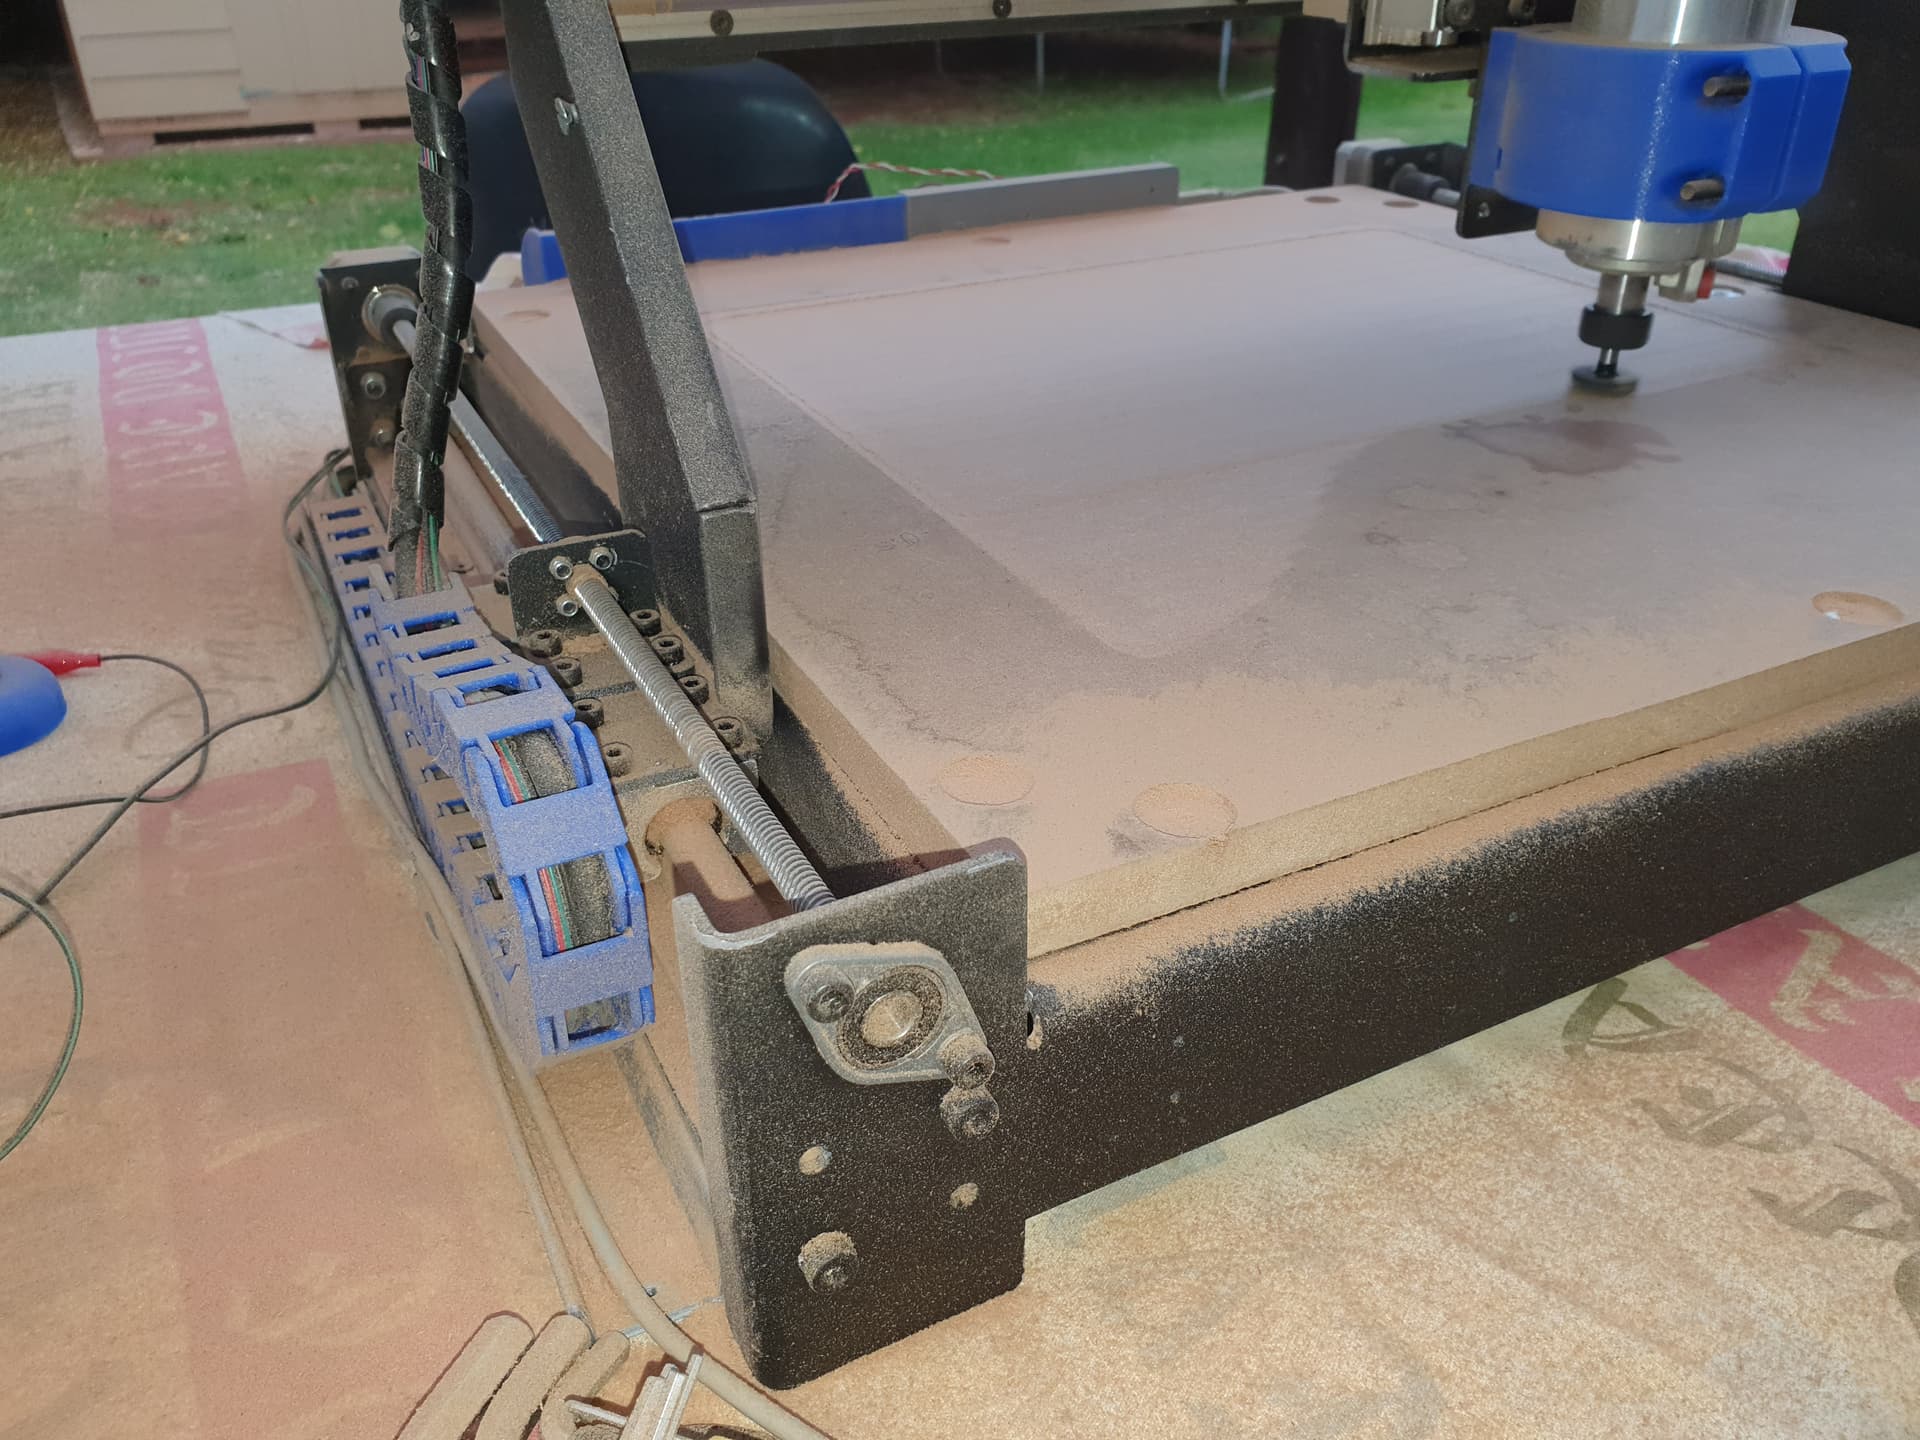
Found that the company that did the cutting and bending used a different radius to what was specified, so some pieces don’t line up very well. It’s mostly OK for now, but I’ll have to make a couple of tweaks before I’ll be able to run a cutting job that needs the full area as the threaded rod is not straight which is an issue towards either side.
The spoilboard has been surfaced and lines drawn and holes have been drilled for mounting points.
I need to give it a permanent place to live though (Not the outside table), and I’m planning on attaching a raspberry pi with a screen to control it rather than using the laptop via USB.
Almost ready to actually use it for it’s intended purpose!
The problem with designing something like this is that you’re constantly thinking of improvements that you should have thought of before actually having the metal cut & bent!
Also I’d like to attach a Raspberry Pi + touchscreen + SD card for controlling the device through USB when it’s outside in the shed so that I don’t need my laptop to get filthy and be left there…
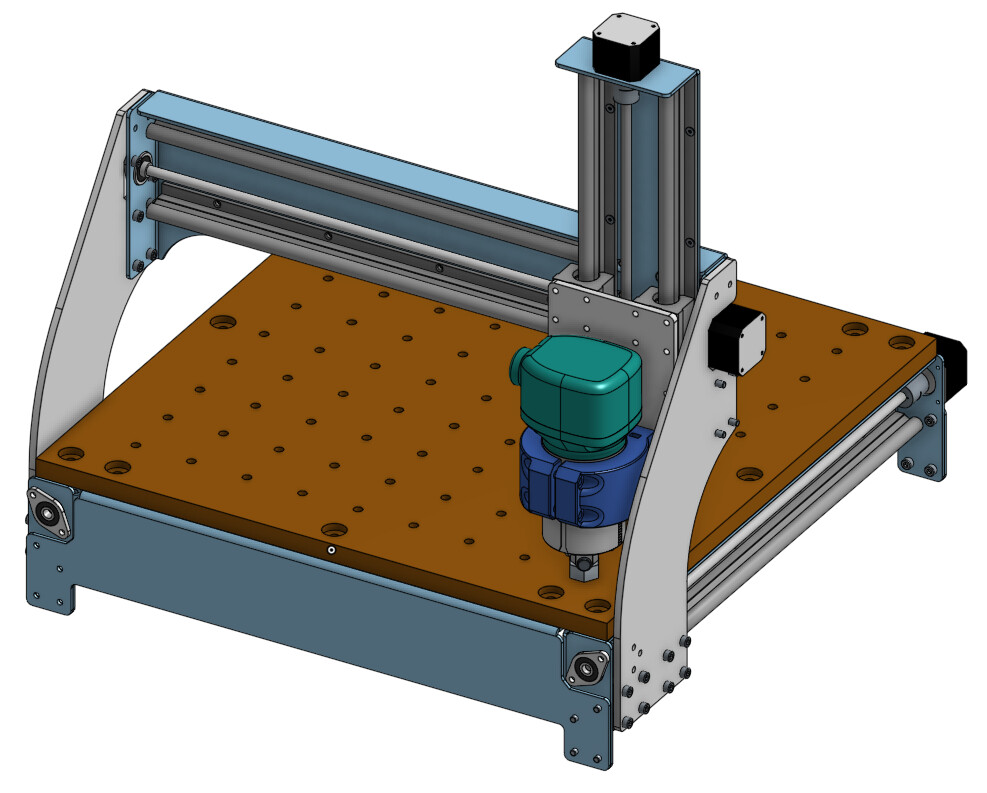
This is V2 that I’m already playing with… It increases the cutting area by 50mm X&Y and also moves the Y axis threaded rods and bearings out of direct line from any sawdust… Also the cutting and folding is easier and uses aluminum in some places for weight.
I’m trying to tell myself that this is a purely academic exercise and I won’t rebuild the whole thing…