Wiring up my shed - wirelessly

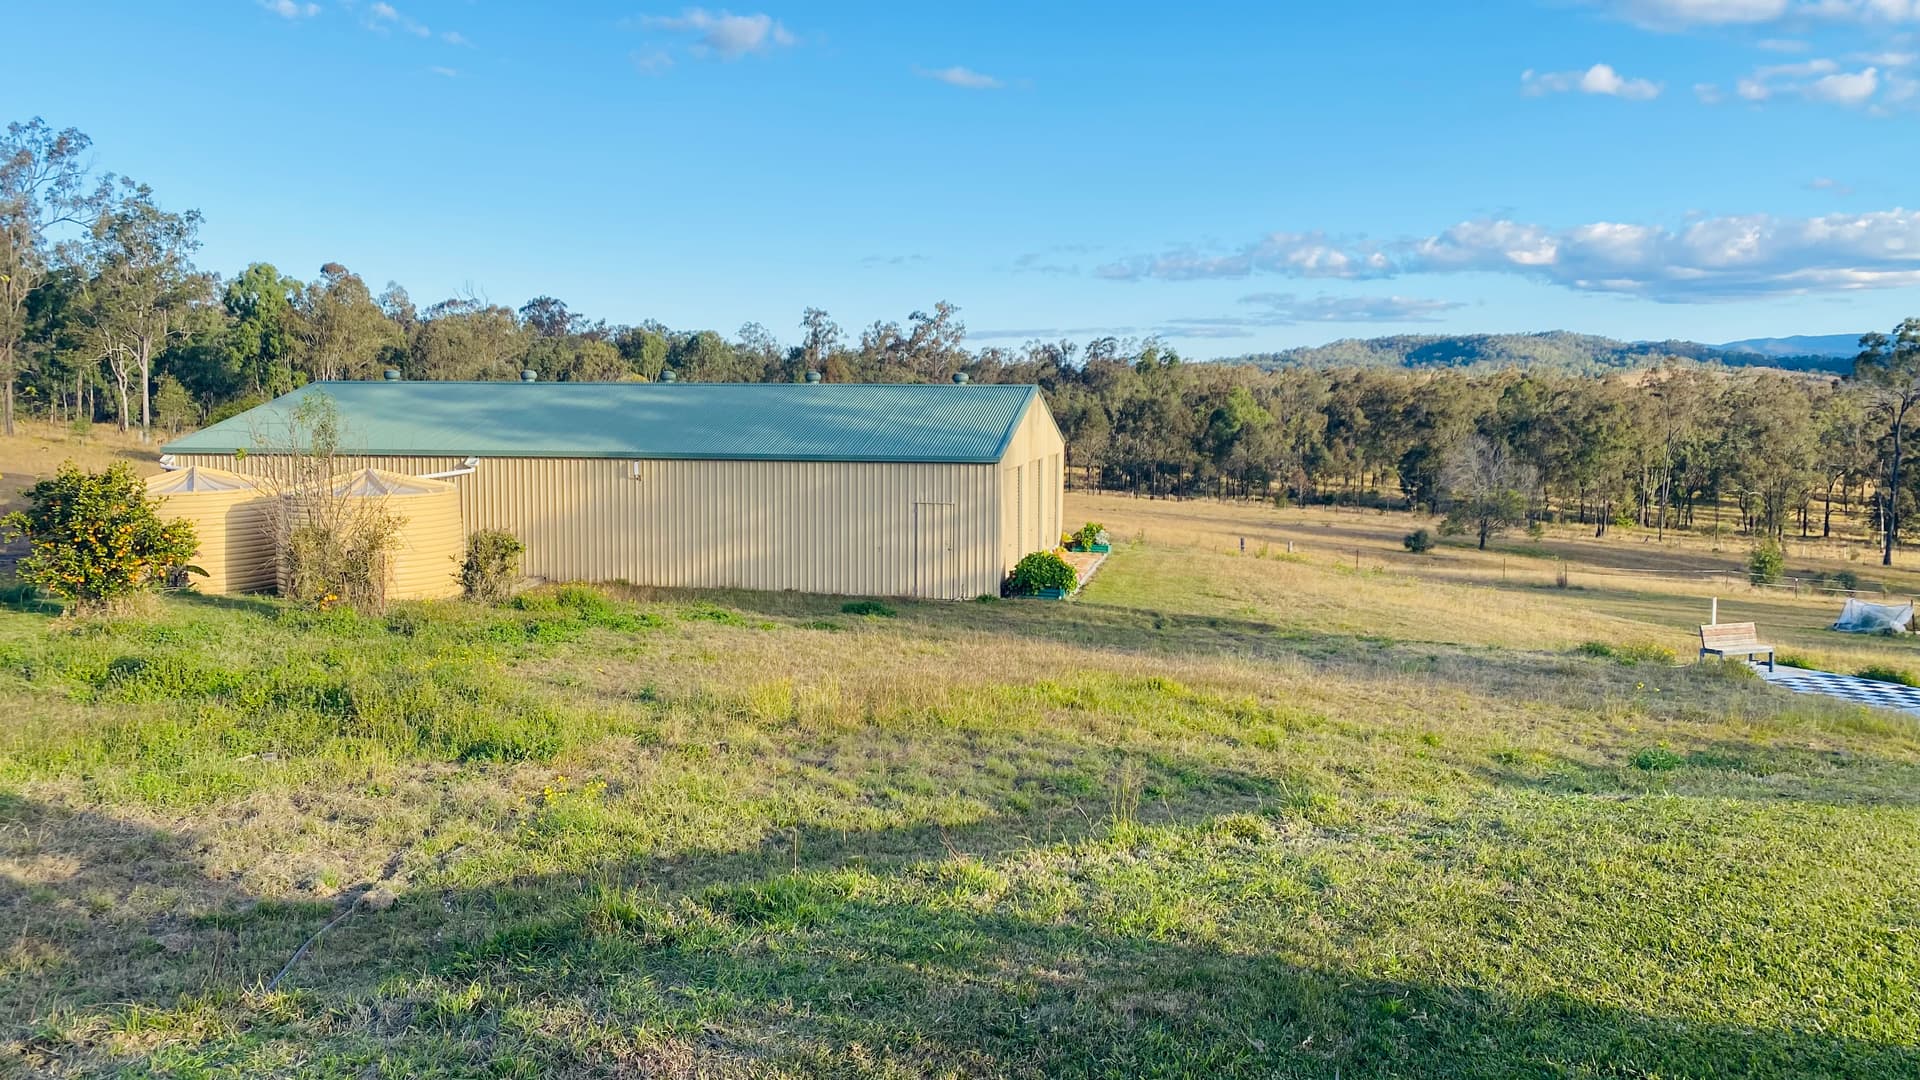
When we bought this property, it had a big 20x12m steel shed on it, roughly 60m away from the main house. At the time, it was built on the bare dirt, and the previous owners were using it to house tractors and other machinery. We don’t have any that stuff.

Our vision of the shed was to become an entertainment area, a space for things like a home gym, pool table and similar. A prerequisite for that was to add a concrete slab, which we finally managed to get done in early 2020, just before the pandemic hit properly. It took another half year for us to get power connected to it.

At this time, the setup is pretty much what we envisioned, with the addition of an 8x4m partition which has been turned into our model railway space. One thing that was still missing was internet connectivity. With my old internet connection, the main wifi was sitting in a spot that threw just enough signal down to the shed that a wifi extender could pick up - if the doors were open. With closed doors, there was nothing.

But with Starlink, the layout has changed anyway. I had to create some sort of dedicated connection to the shed. Some people said I should have chucked in some CAT6 when I had the electrician out to connect the power. But at the time, I didn’t feel like the added pain, cost or scope creed that that would have involved. Instead, I decided to create a wireless connection.

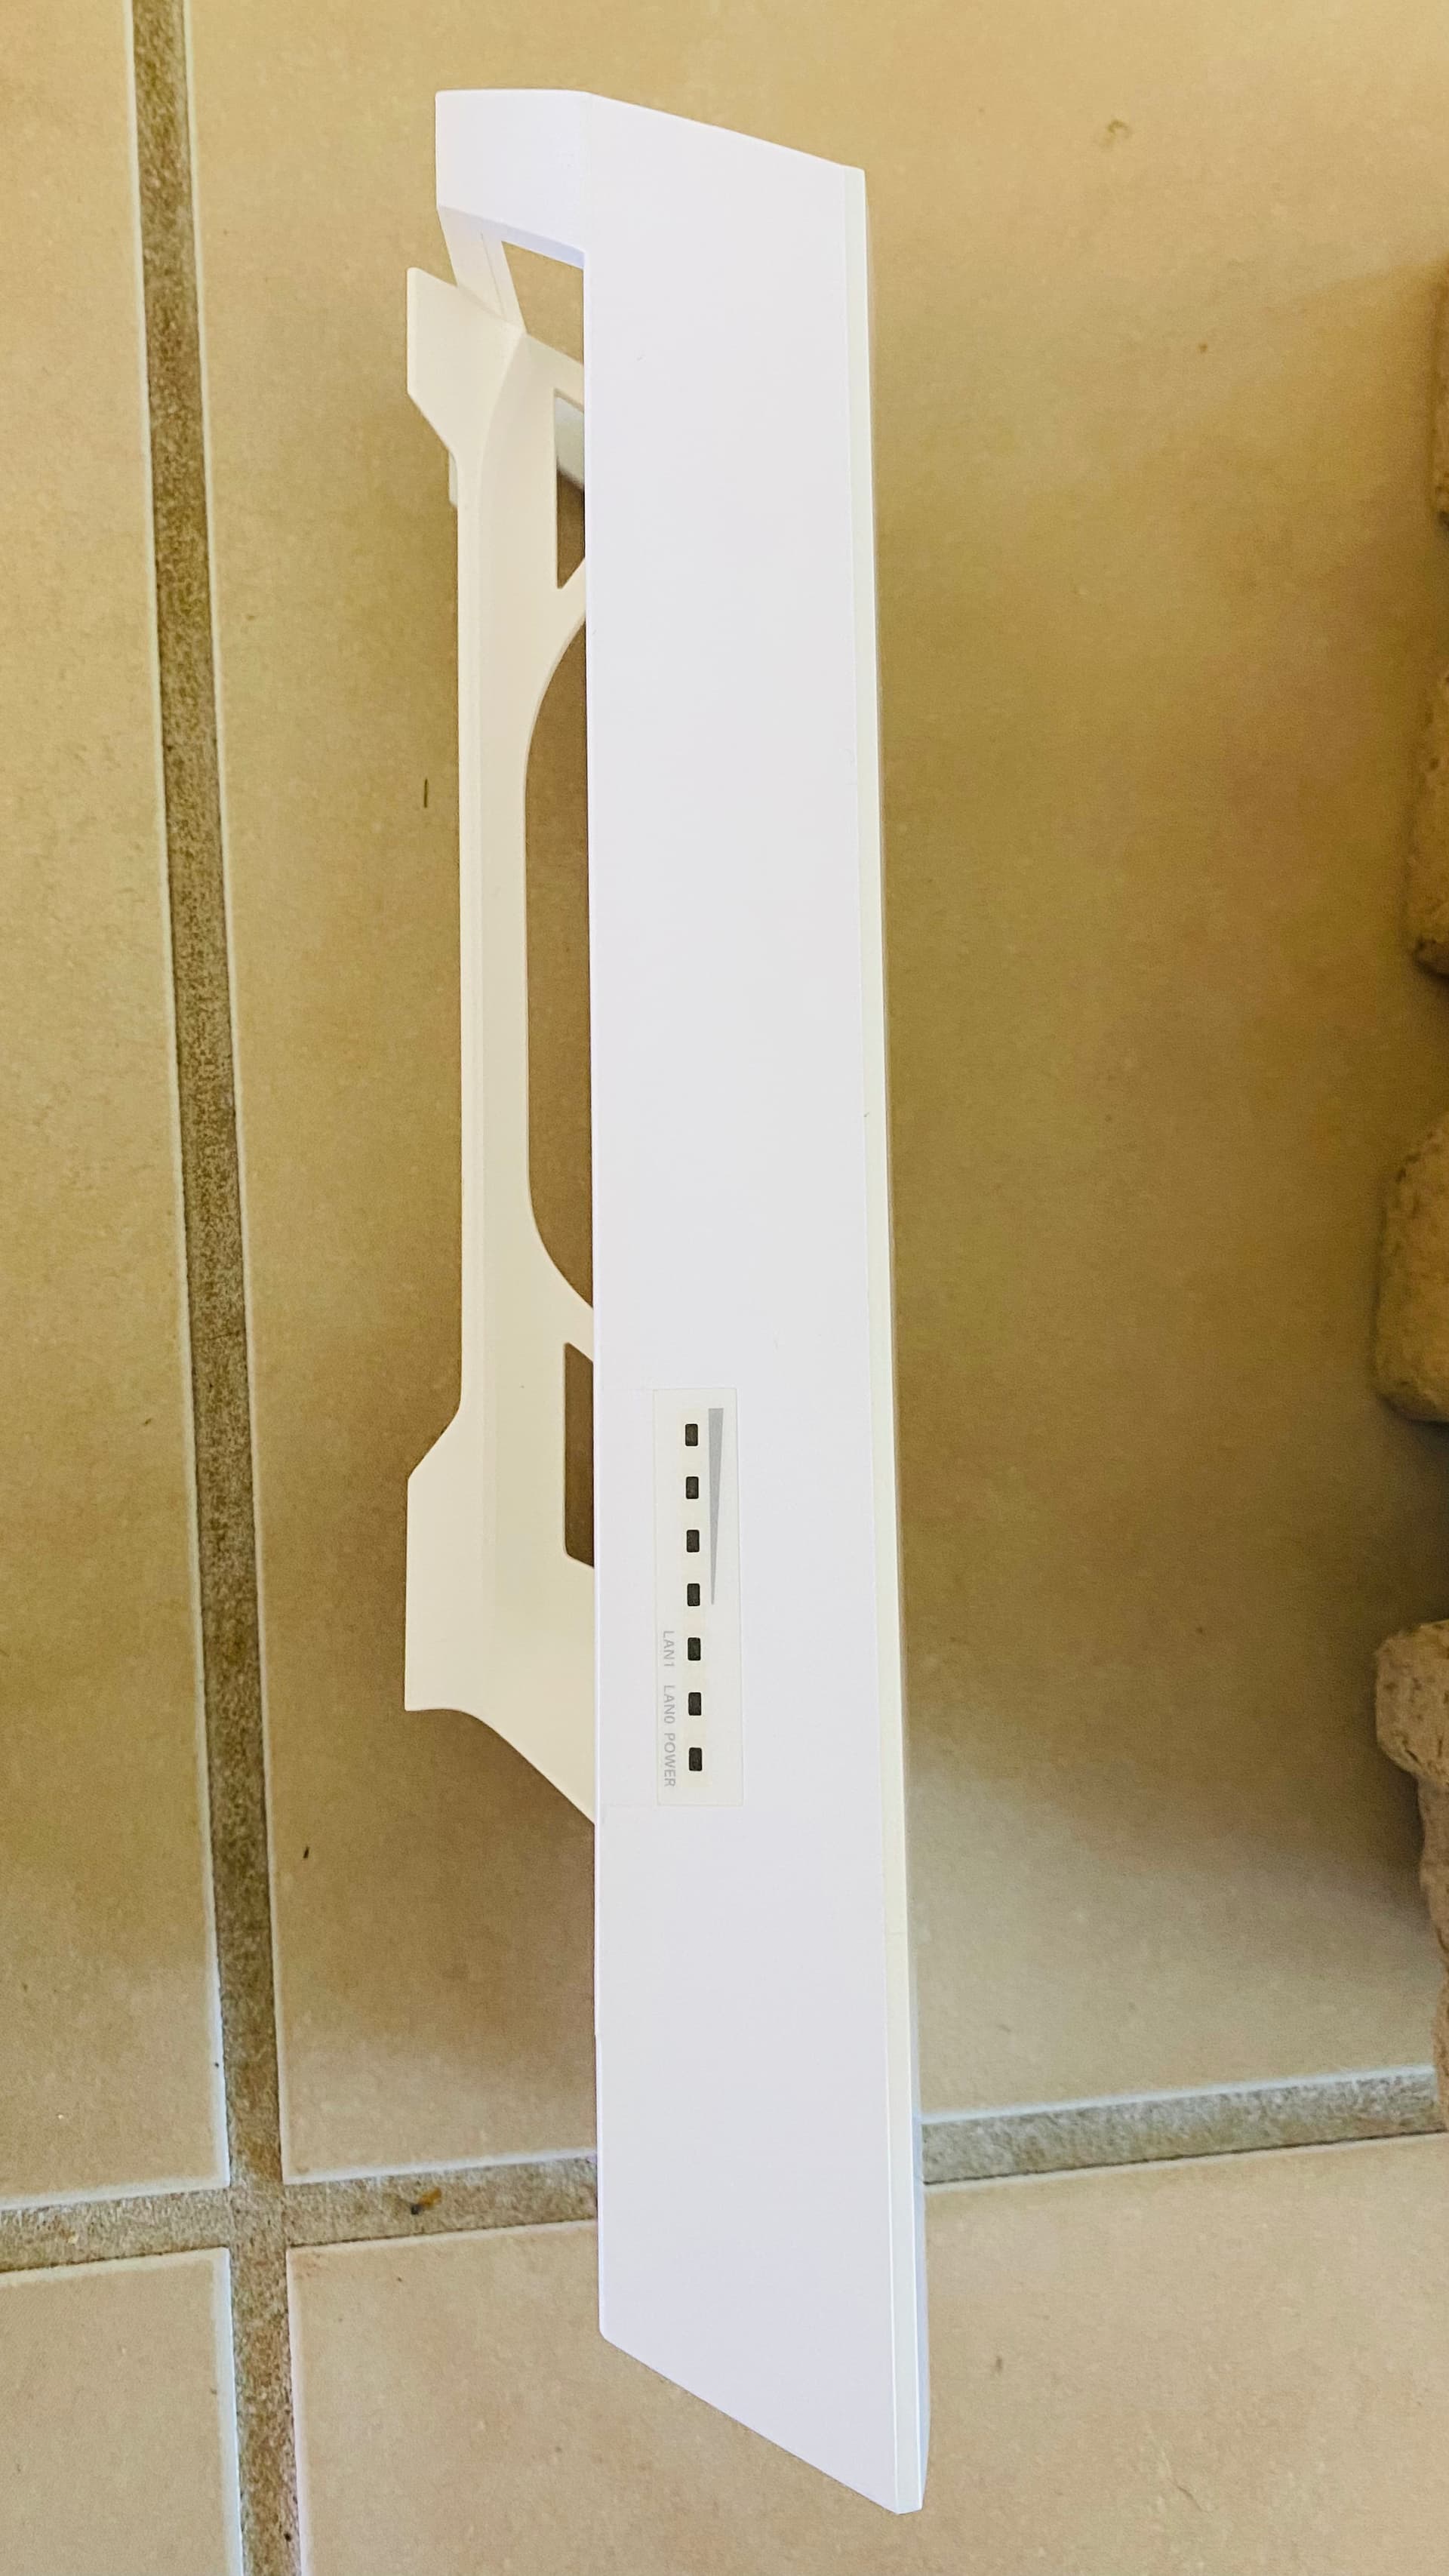
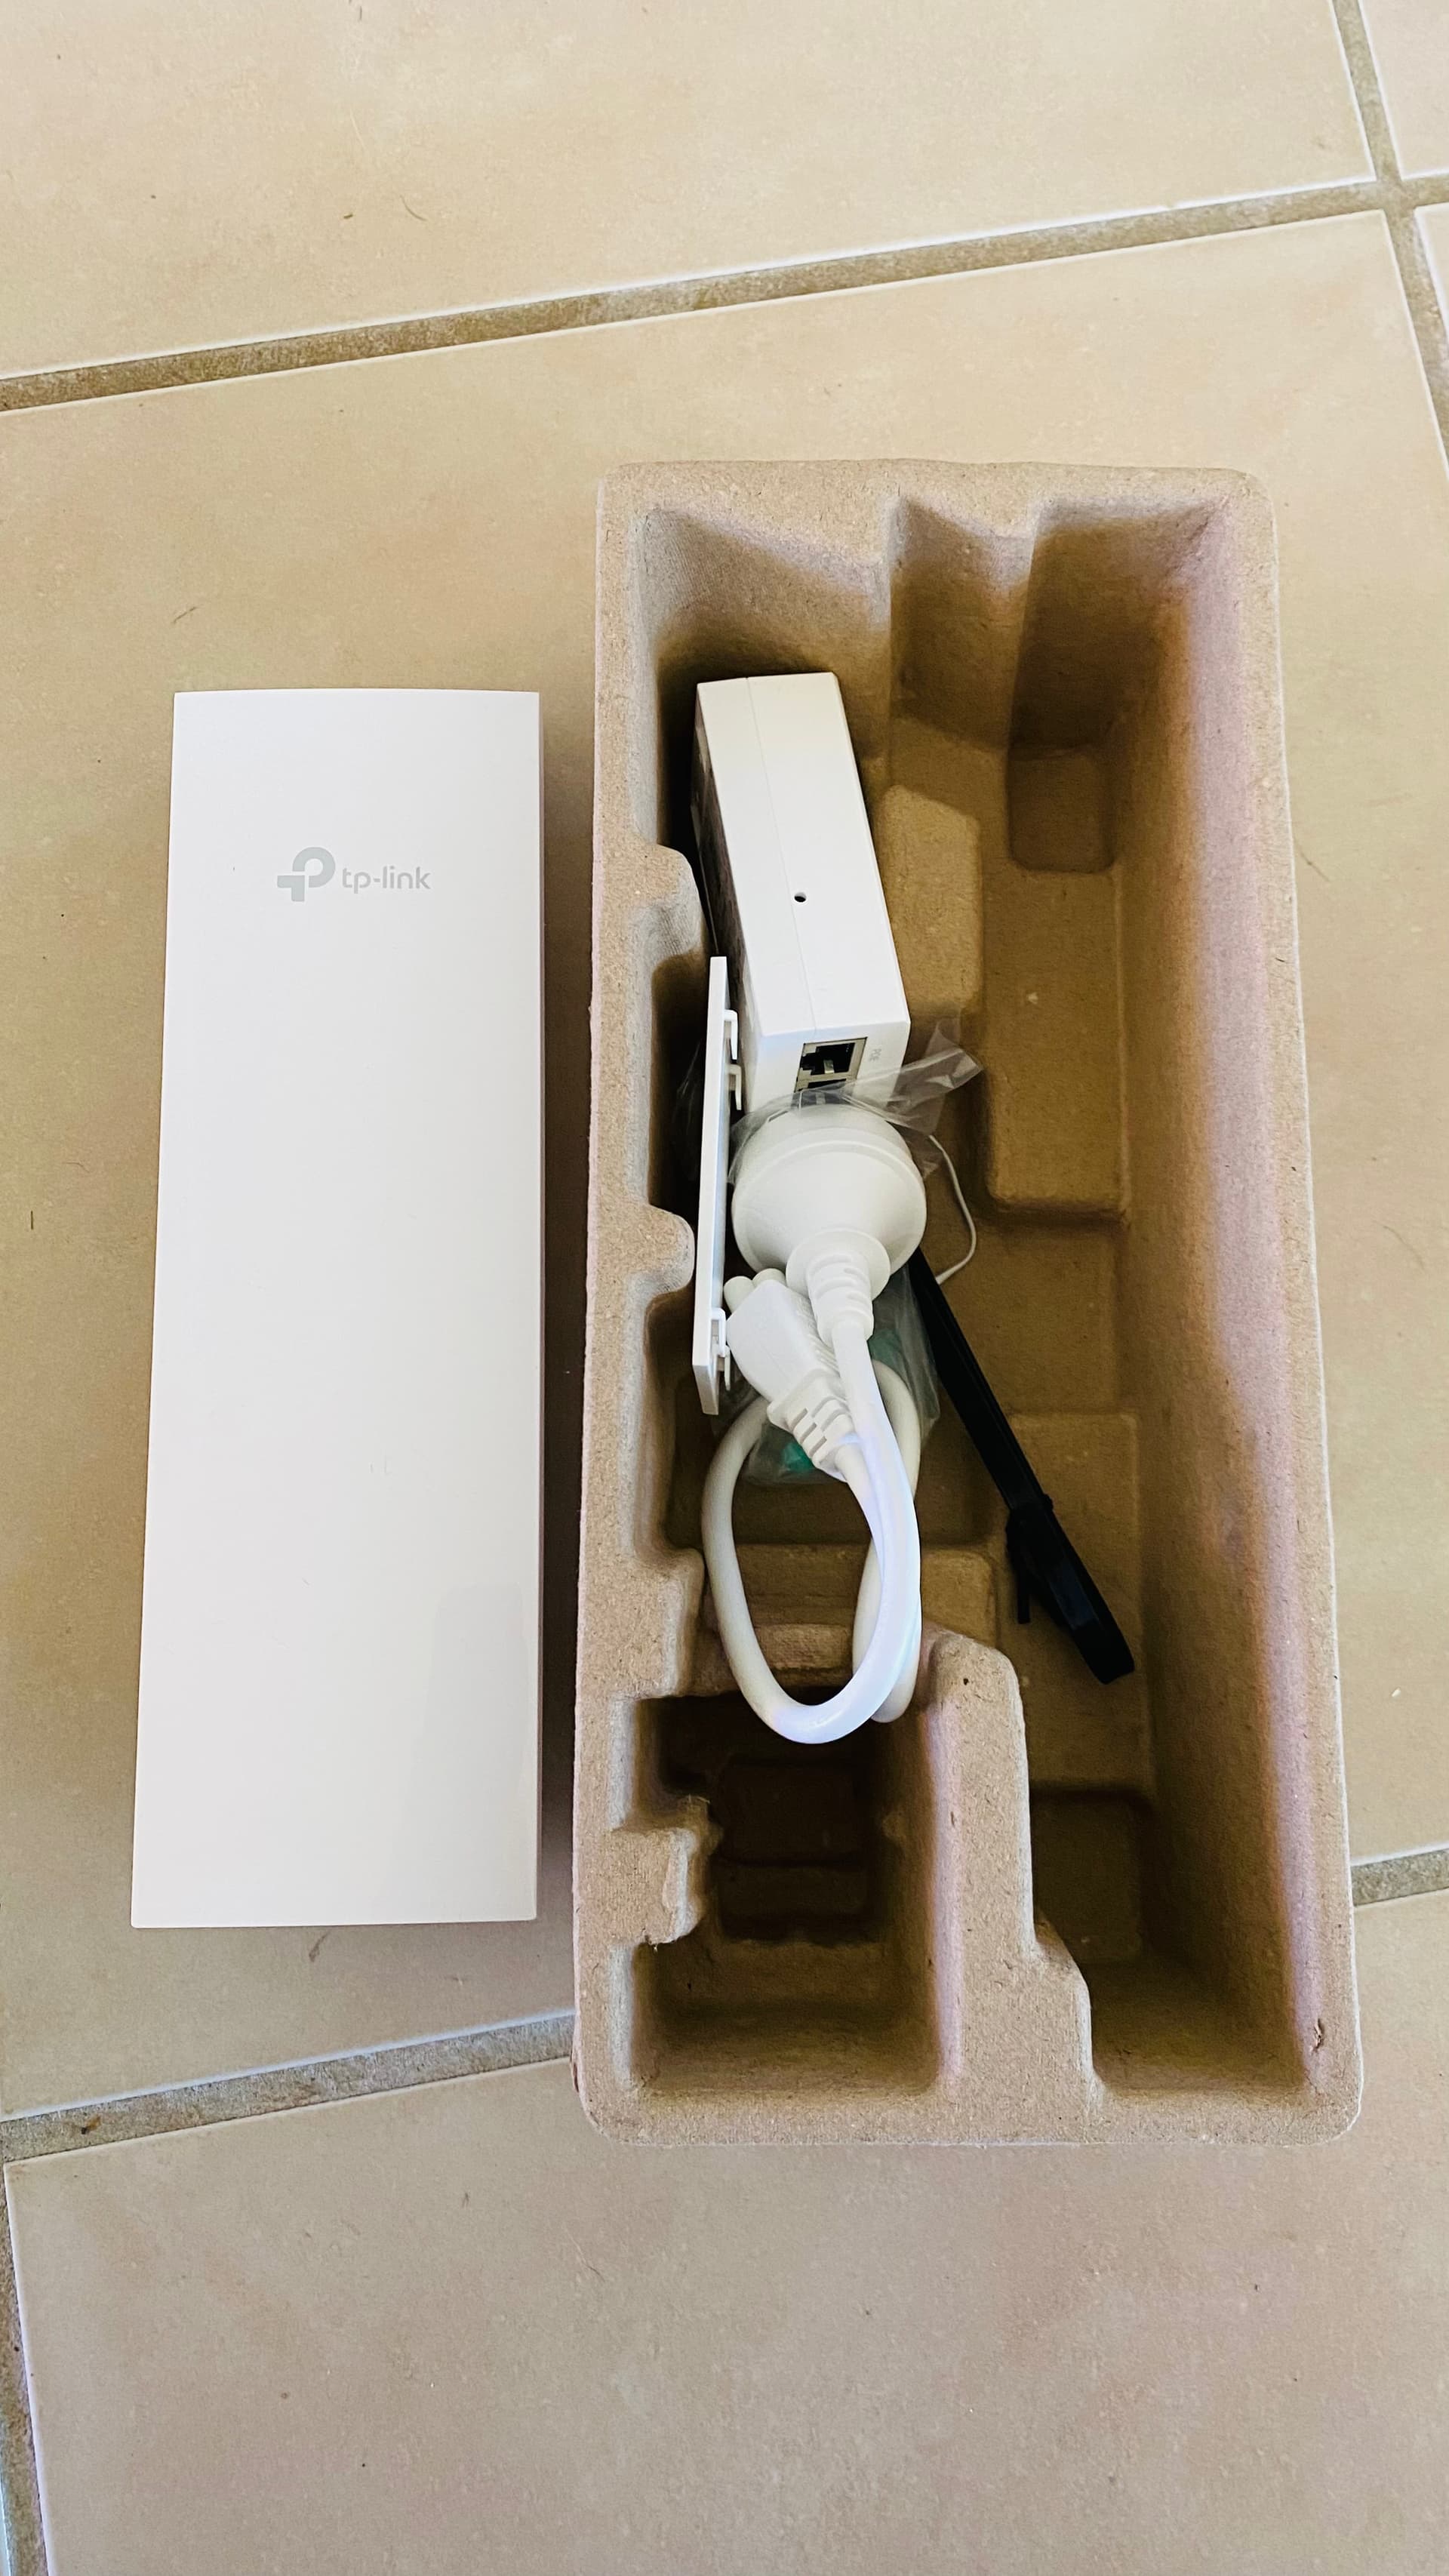
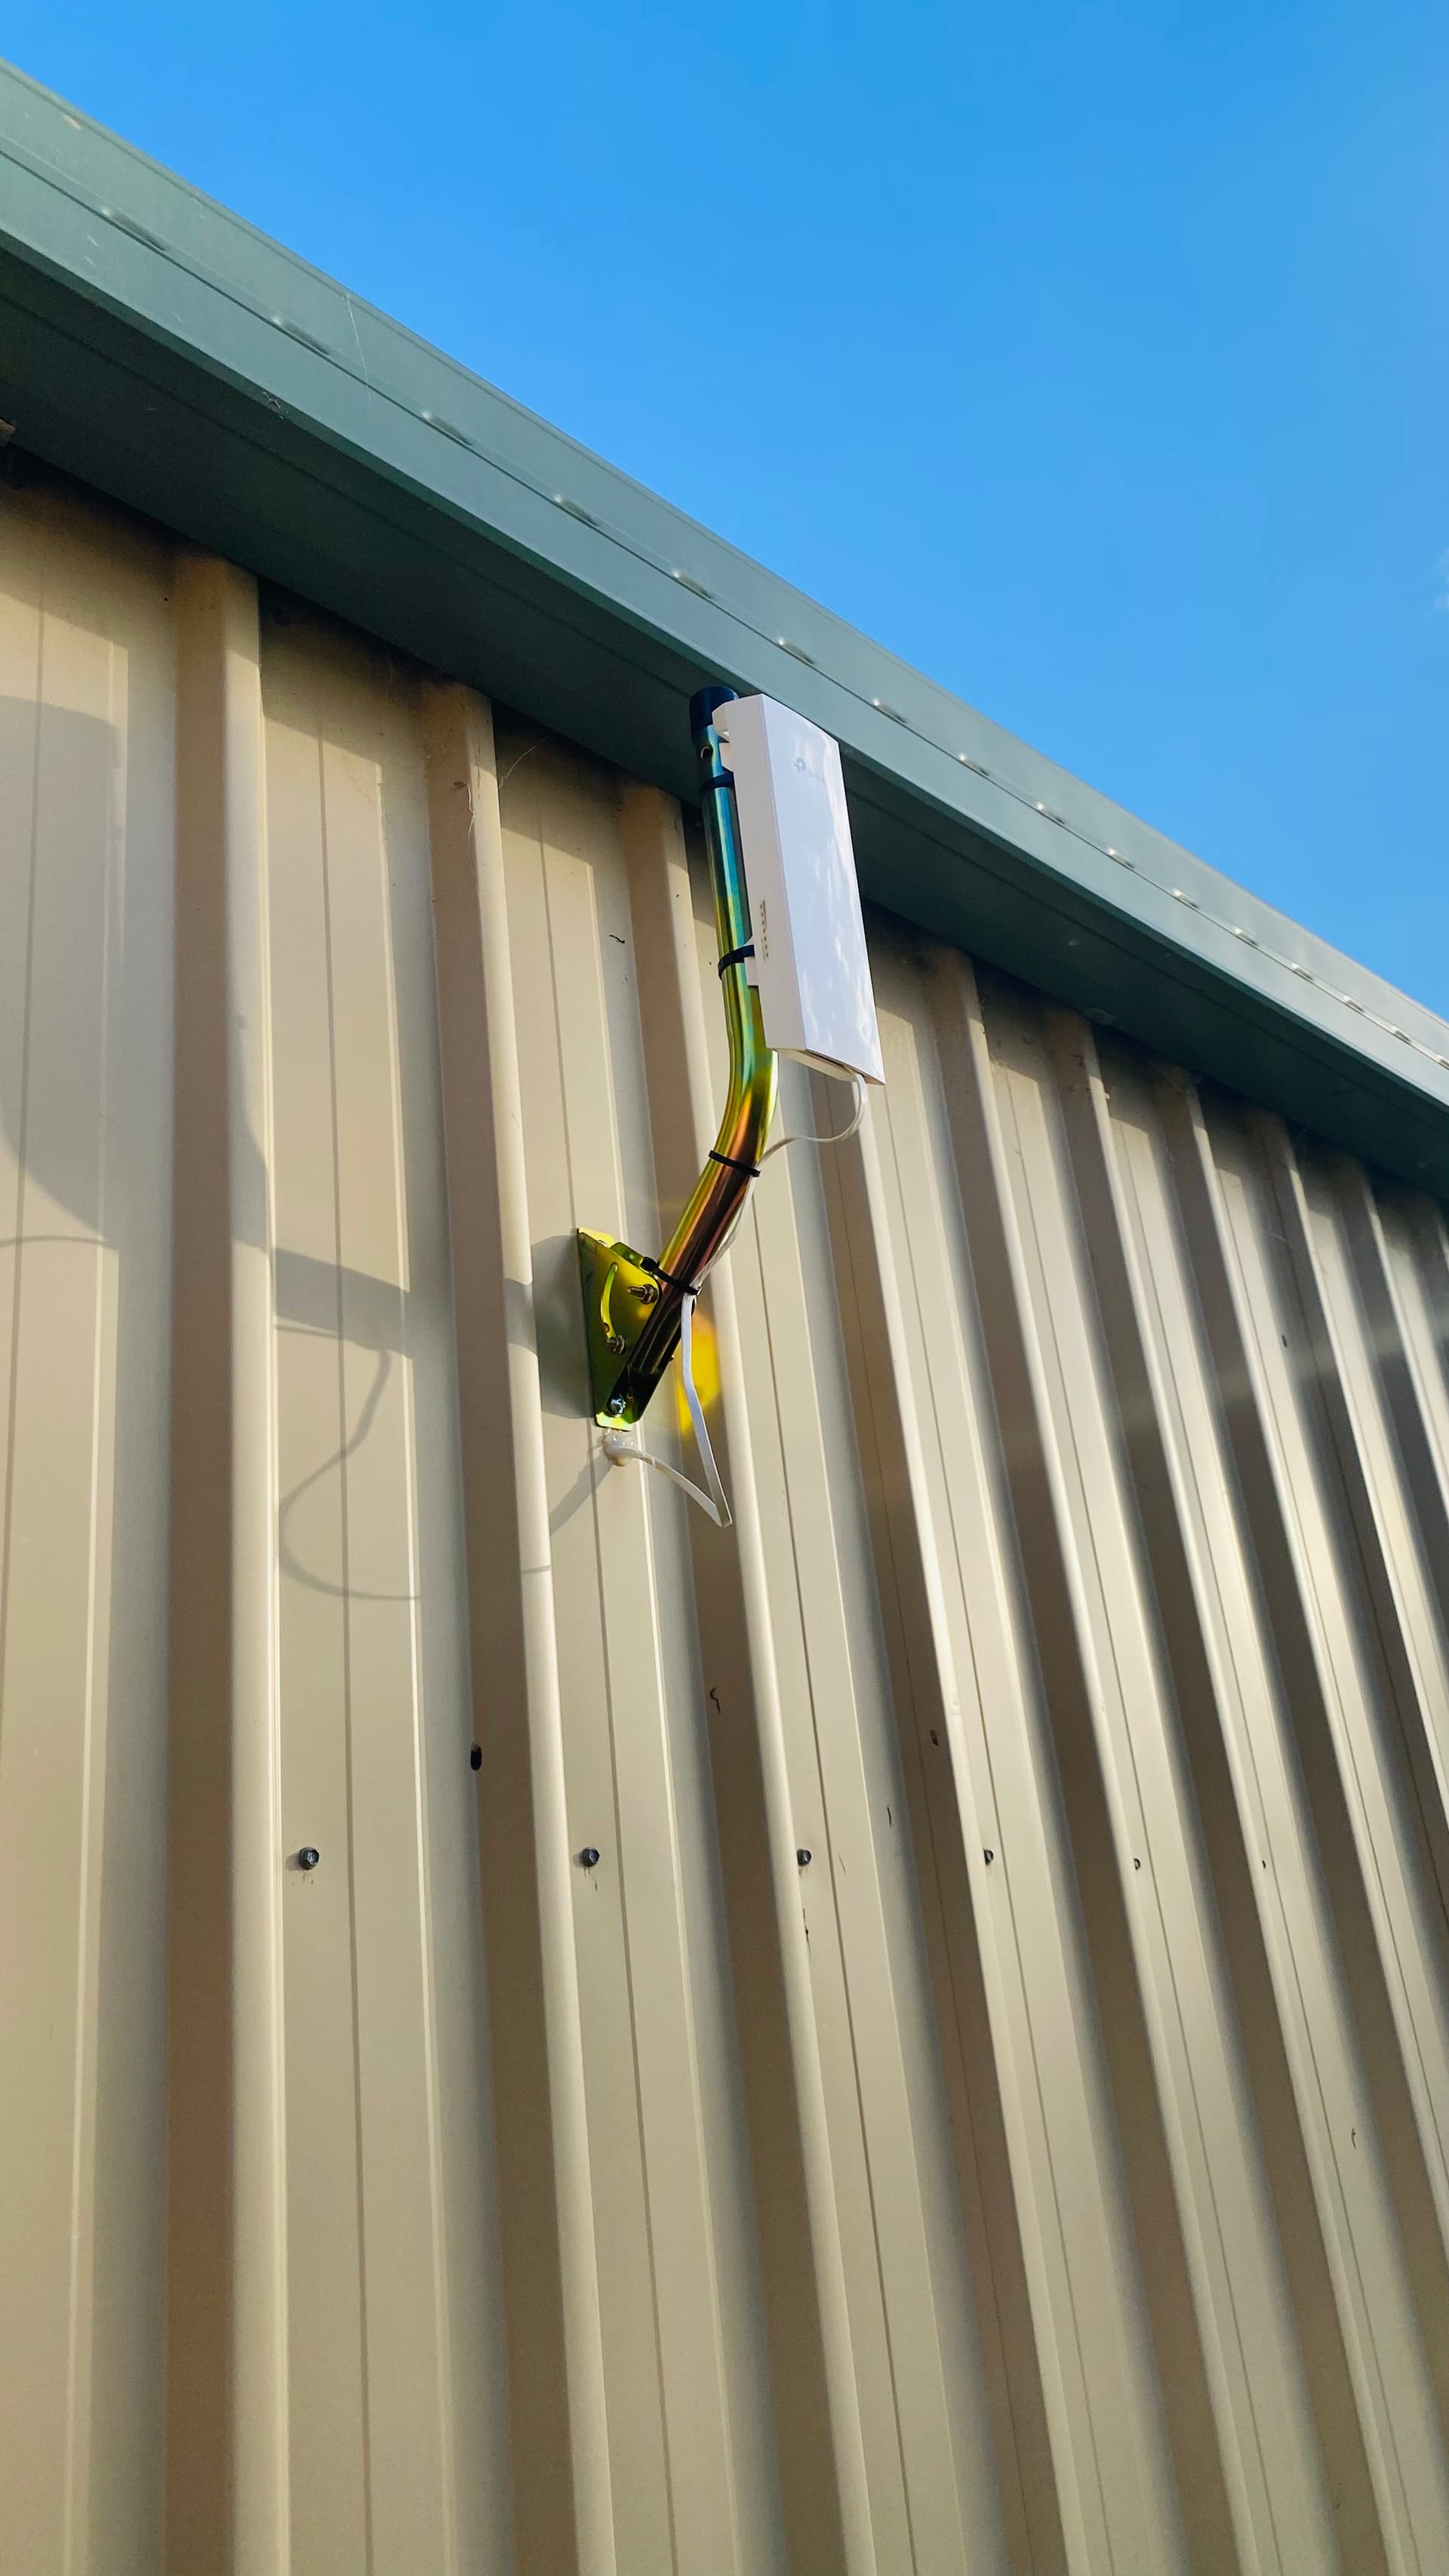
There are a lot of wireless bridges available, with prices ranging from around $50 apiece up to several $100. Luckily I came across an article on Ars Technica a while ago that described my exact use case. The author was using the TP-Link CPE range, specifically the CPE210 if memory serves.

Those devices are quite affordable, and can be used in multiple configurations. In point to point mode, they can apparently bridge several kilometres, which is obviously overkill for my purposes.

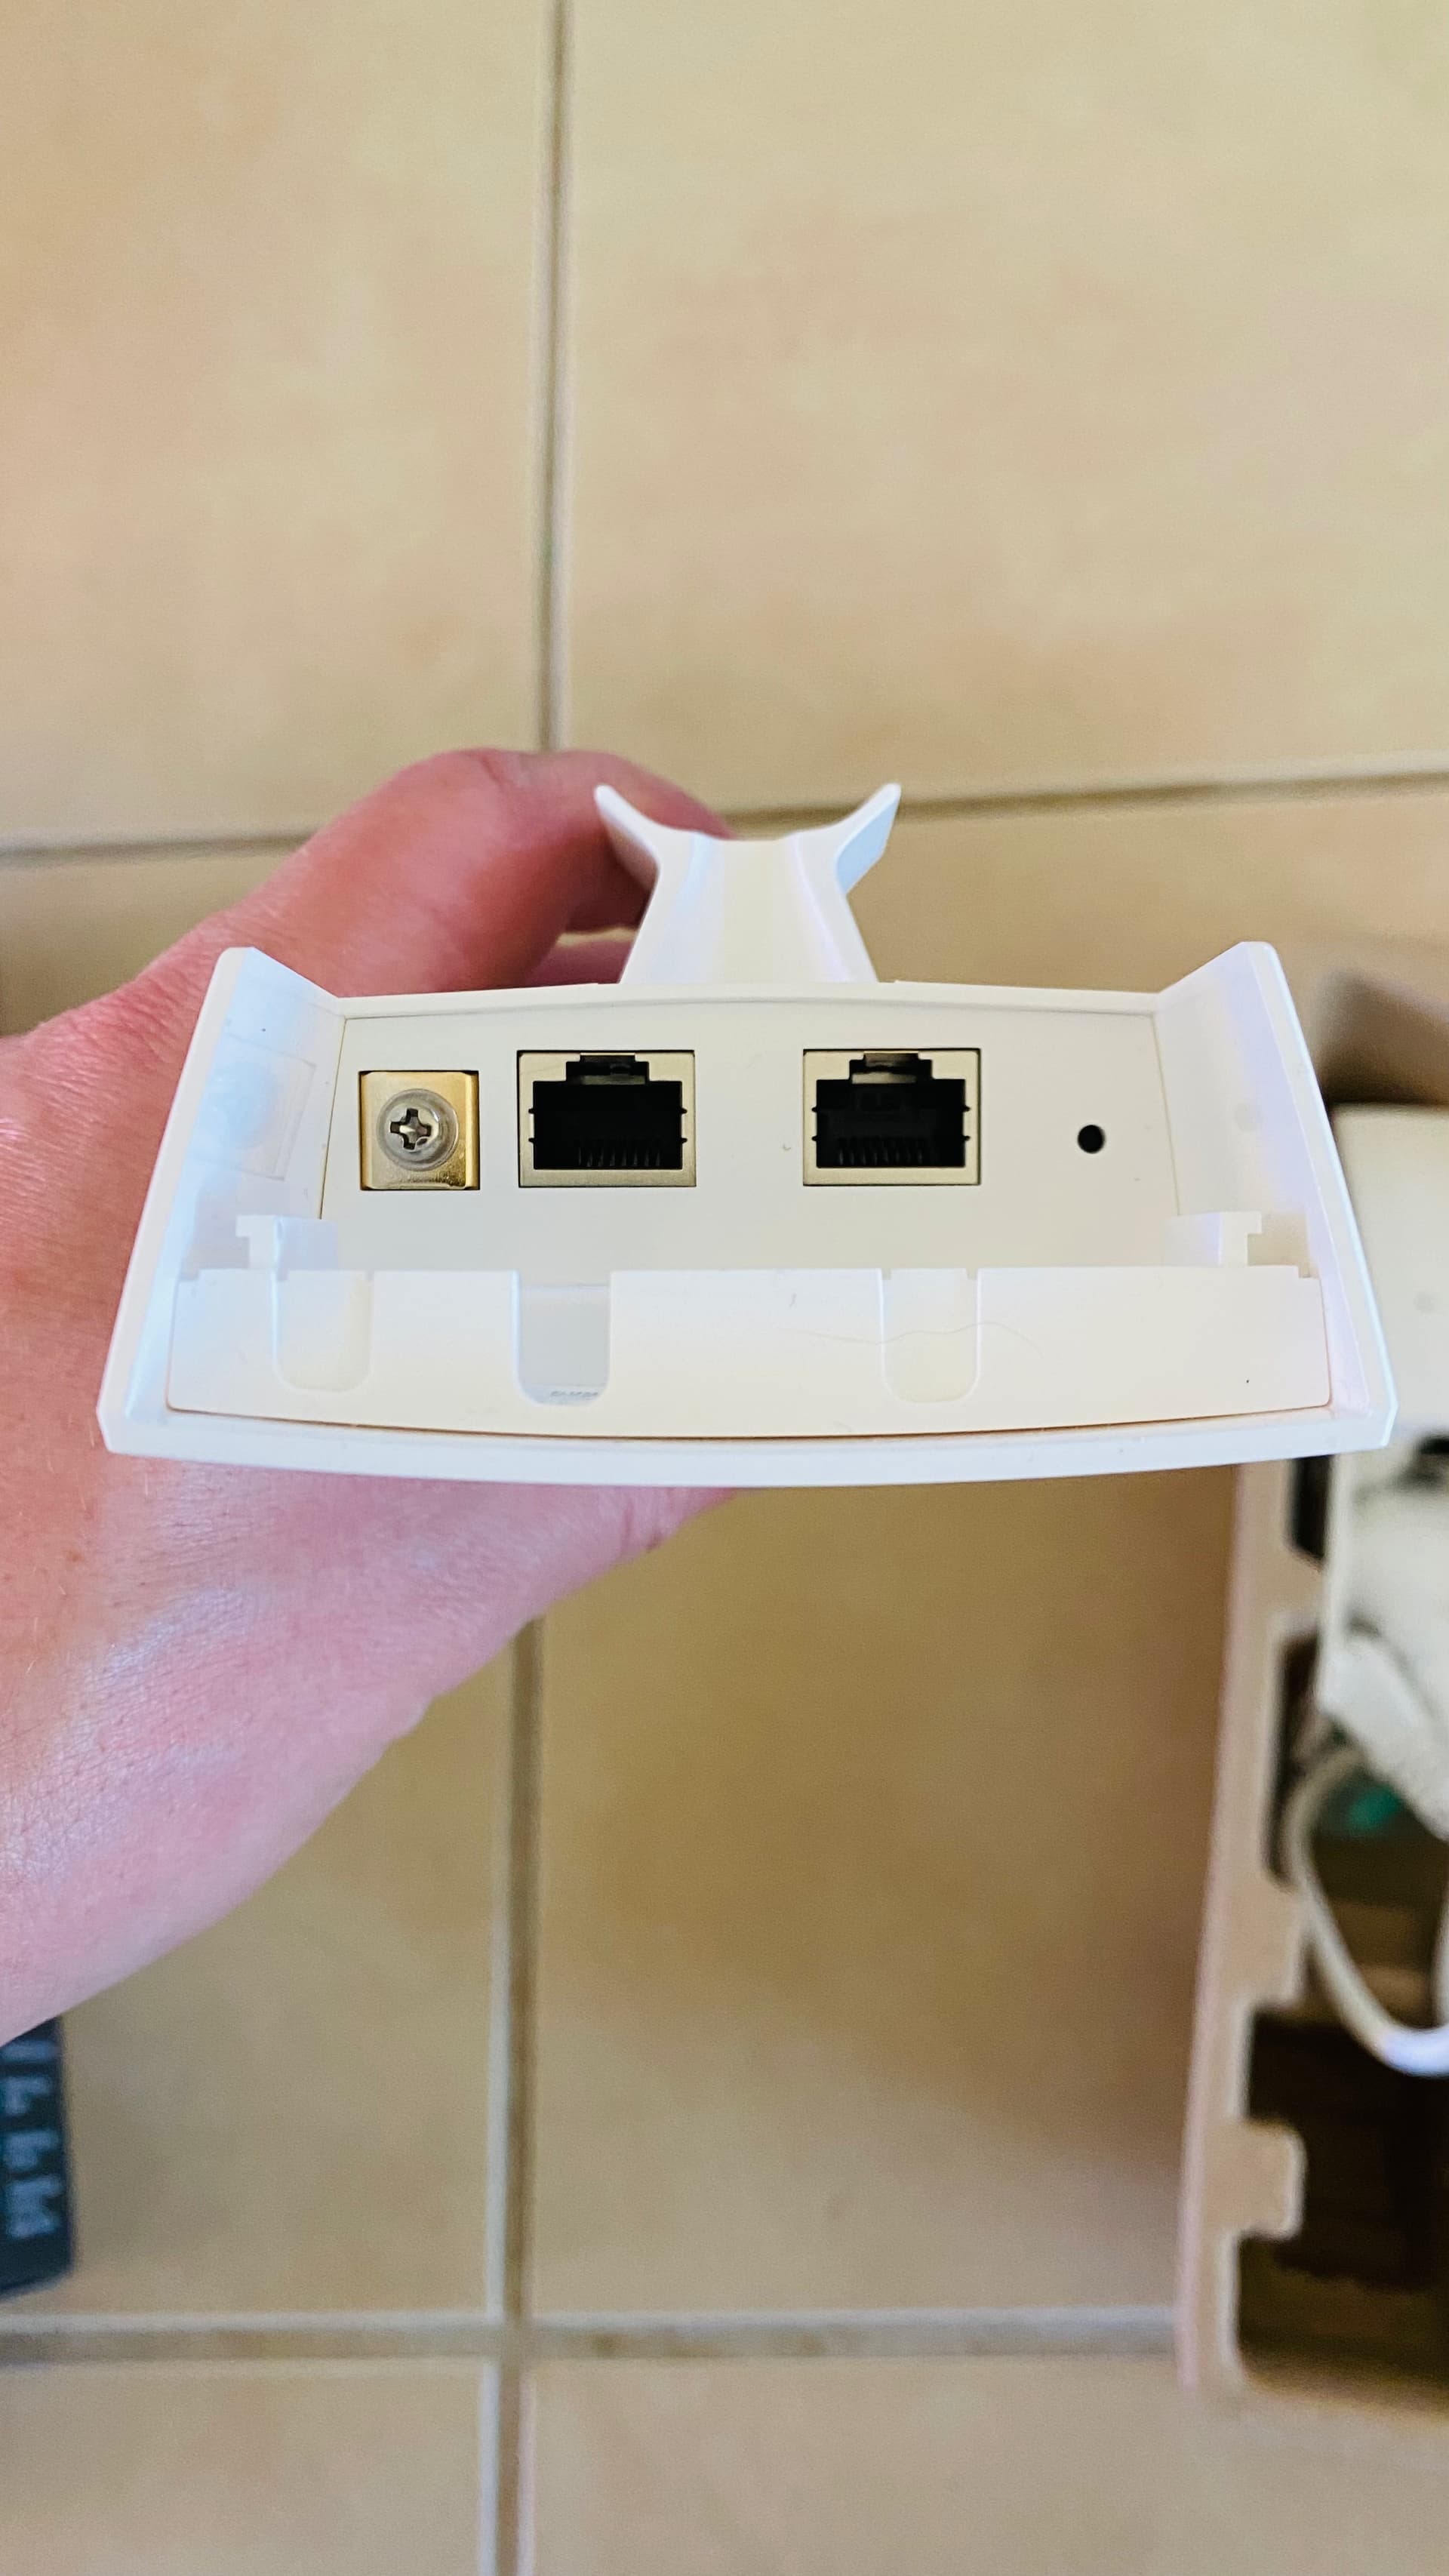
I ended up buying a CPE210 and a CPE220, because that’s all my preferred dealer had in stock. The 220 is basically a beefed-up version of the 210, with an additional LAN port and a larger, more powerful antenna, extending its range to 13km.

To be continued…

2 Likes

In the box, there’s the unit itself, plus a small PoE brick with 30cm power cable, and some mounting straps. That’s it, not even a network cable. Which is fine, I suppose, since most people will have little use for a short ethernet lead if they mount the unit outside. Still, if you do use the PoE brick, it would be handy to have the second cable to hook into your LAN.

Below are some pics of the CPE220. The 210 is a few cm shorter and has only the one RJ45 port.


Before I tackled the part of actually mounting the units on house and shed respecively, I first set them up and tested the connectivity, so that once they were mounted and plugged in, nothing else needed to be done. They have a regular web interface, but there’s also a Windows-based software called Pharos Control, however I’m yet to understand it’s value add.

In order to protect the units from ESD and lightning, you have to ground them, which can be done either via a grounding wire and rod, or by using a shielded ethernet cable to the PoE brick. I opted for the latter, since hammering a copper rod 1.2m deep into our hard, claylike soil did not sound like my idea of fun.

A few weeks ago I routed the Starlink cable through the wall and roof into the house. The cable for the CPE was routed along the same path, which made things a bit easier - my roof cavity is not a place anyone wants to spend a lot of time in, unless they get paid to do so.

Once both units were mounted and plugged into power, they started working as expected. The unit on the house is set up as an access point, the one on the shed as a client, which is the recommended config for my use case. I’ve given them IPs on my LAN so I can monitor them easily, but they’re using a separate SSID to talk to each other.

The shed, as seen from the house (with the CPE already installed)

The house side

The shed side

To be continued

2 Likes

So now I have the equivalent of a 80m ethernet lead going into my shed. The aforementioned wireless extender would have been an option for covering the shed in wifi, with the cosmetic disadvantage that it would run a different SSID. Also, I turned that thing into a dumb switch recently by turning off its wifi entirely, and I can never remember how to properly reset it.

Besides, there was an easier option. Thanks to Teejo, I am in possession of a Google Wifi mesh with three pucks. I inly need two of them to adequately cover the house, so now the third puck lives in the shed.

The performance is adequate. The CPEs have a weird design where the wireless bandwidth is up to 300Mbps, but they only sport 100Mbps ethernet ports. I knew that going in, the bandwidth demands of anything down there won’t be particularly onerous at any rate.

I conducted some speed tests, both between the units and with client devices. For the latter, I’ve so far seen a max of 40Mbps down, but that was with TP-Link’s proprietary Maxtream enabled - see below. The units have their own speed test mode where one device can act as a server and the other as client. For those tests I’ve seen speeds hit and somewhat exceed the 100Mbps mark. That was with Maxtream disabled.

Now this Maxtream thing is a bit weird. It is a proprietary protocol which promises better performance and reliability especially in a multipoint setup. It also has a feature called channel shifting, which adds a frequency offset to the wireless channel in use, so that it can only be picked up by other devices supporting Maxtream. This feature appeals, but enabling Maxtream appears to cut the speed between the units almost in half. That doesn’t appeal so much.

I’ll have to do some more testing with and without Maxtream, but at least I know this setup is working and does what I expect it to do.

2 Likes

Ooh, story time! Love it.
Glad it’s working out for you.

That’s pretty cool, didn’t know TP-Link had those outdoor units… we’ve got a similar situation where I want to put up some cameras on a lightpole where we have power but no comms.
I’ve been looking at some ubiquiti units (only cause I have a friend who can get them at dealer pricing, otherwise they’re a bit expensive.)…

Did you ever consider powerline communications? I see mikrotik makes some decent looking ethernet over power converters, but they won’t work in my case cause of our thunderstorms and the moment you put them behind surge protection they don’t work very well, if at all.

Funny you should say that, remote cameras are one of the use cases TP-Link advertise for the CPEs.

I did a little bit of tinkering, possibly optimised a little, and now my Speedtests in the shed run at between 30-40Mbit/s download speed. Not fantastic, but more than enough for what we need there.

And yes, I did consider powerline connectors, even spoke to my electrician about that. But as far as I understand them, both units need to be on the same power circuit. And that wouldn’t be the case for me, I have two circuits with separate breakers/safety switches in the house, and the shed is on a separate circuit entirely. So they probably wouldn’t work.

Amin Yashed, dont friend this guy.

1 Like

Gotta say - these units have now been up and running for nearly four months, and they haven’t missed a beat. Any time I go down to the shed, my devices seamlessly pick up the wifi there, and there have been no issues with the antennas. They’ve weathered a few heavy storms and rainfalls, they cleanly start and reconnect after a power outage, of which I’ve had a handful since then. So yeah, really low-maintenance and good reliability.

2 Likes